Dismantling and rust repair continues

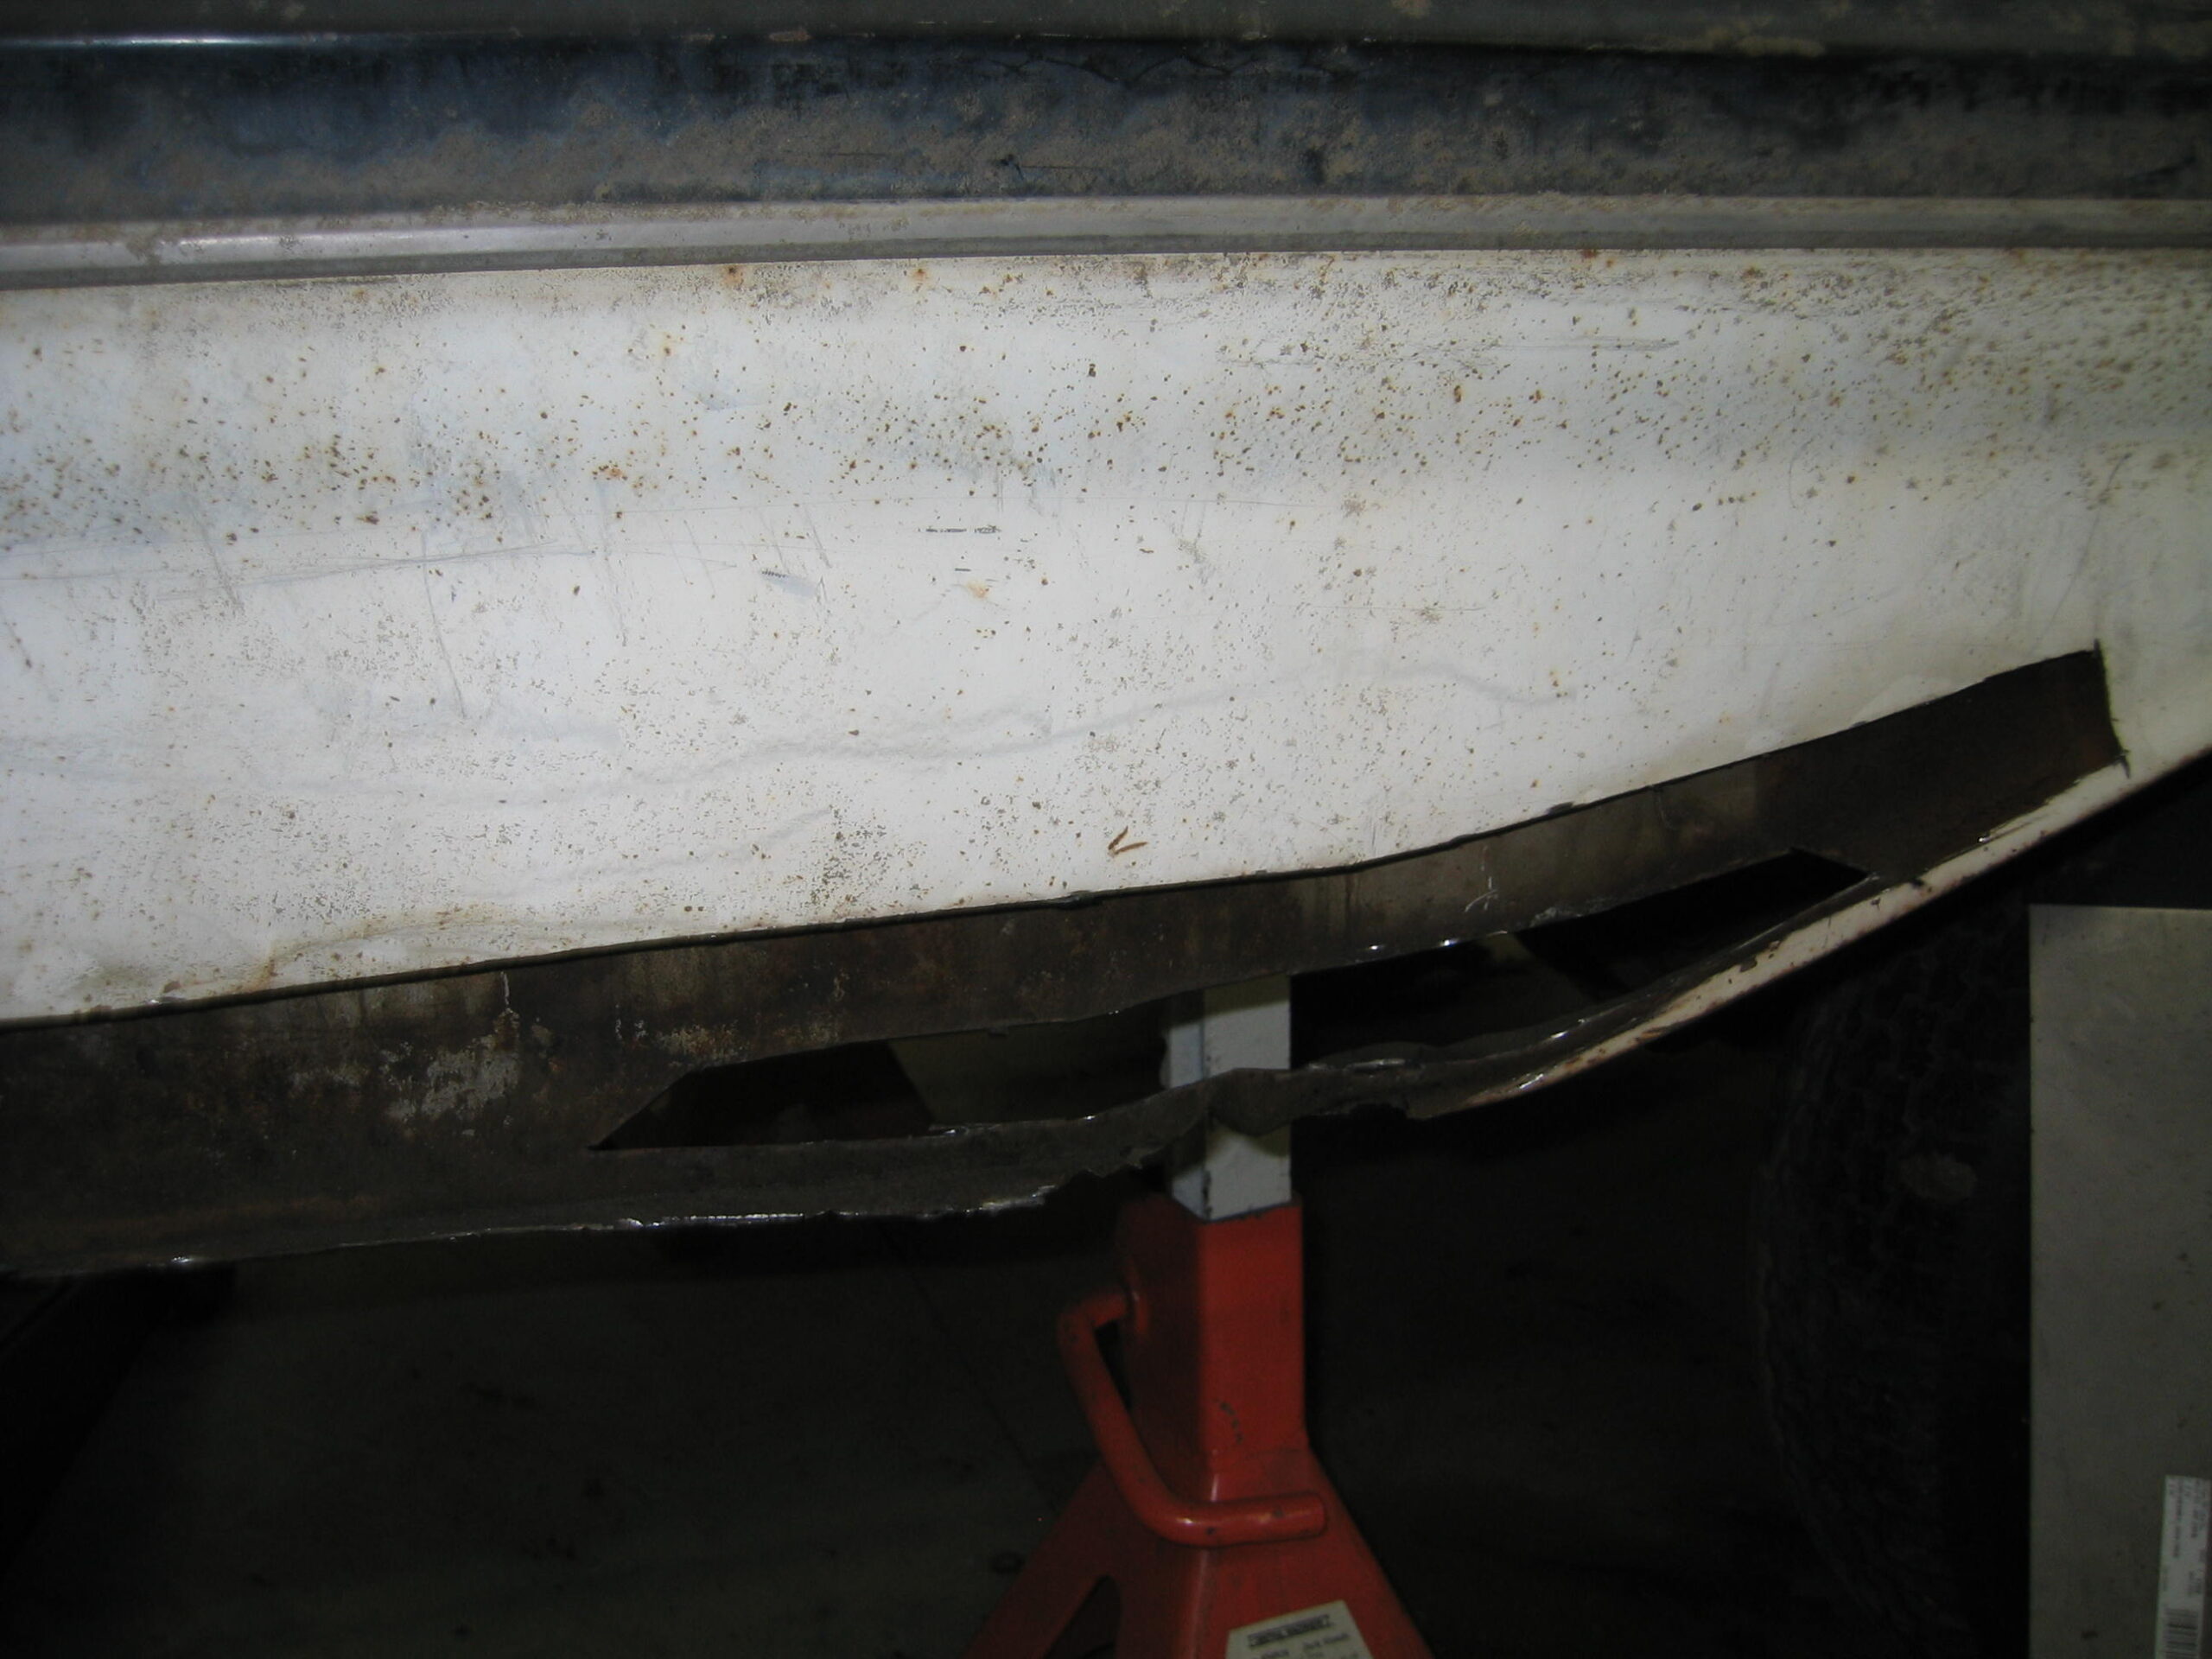
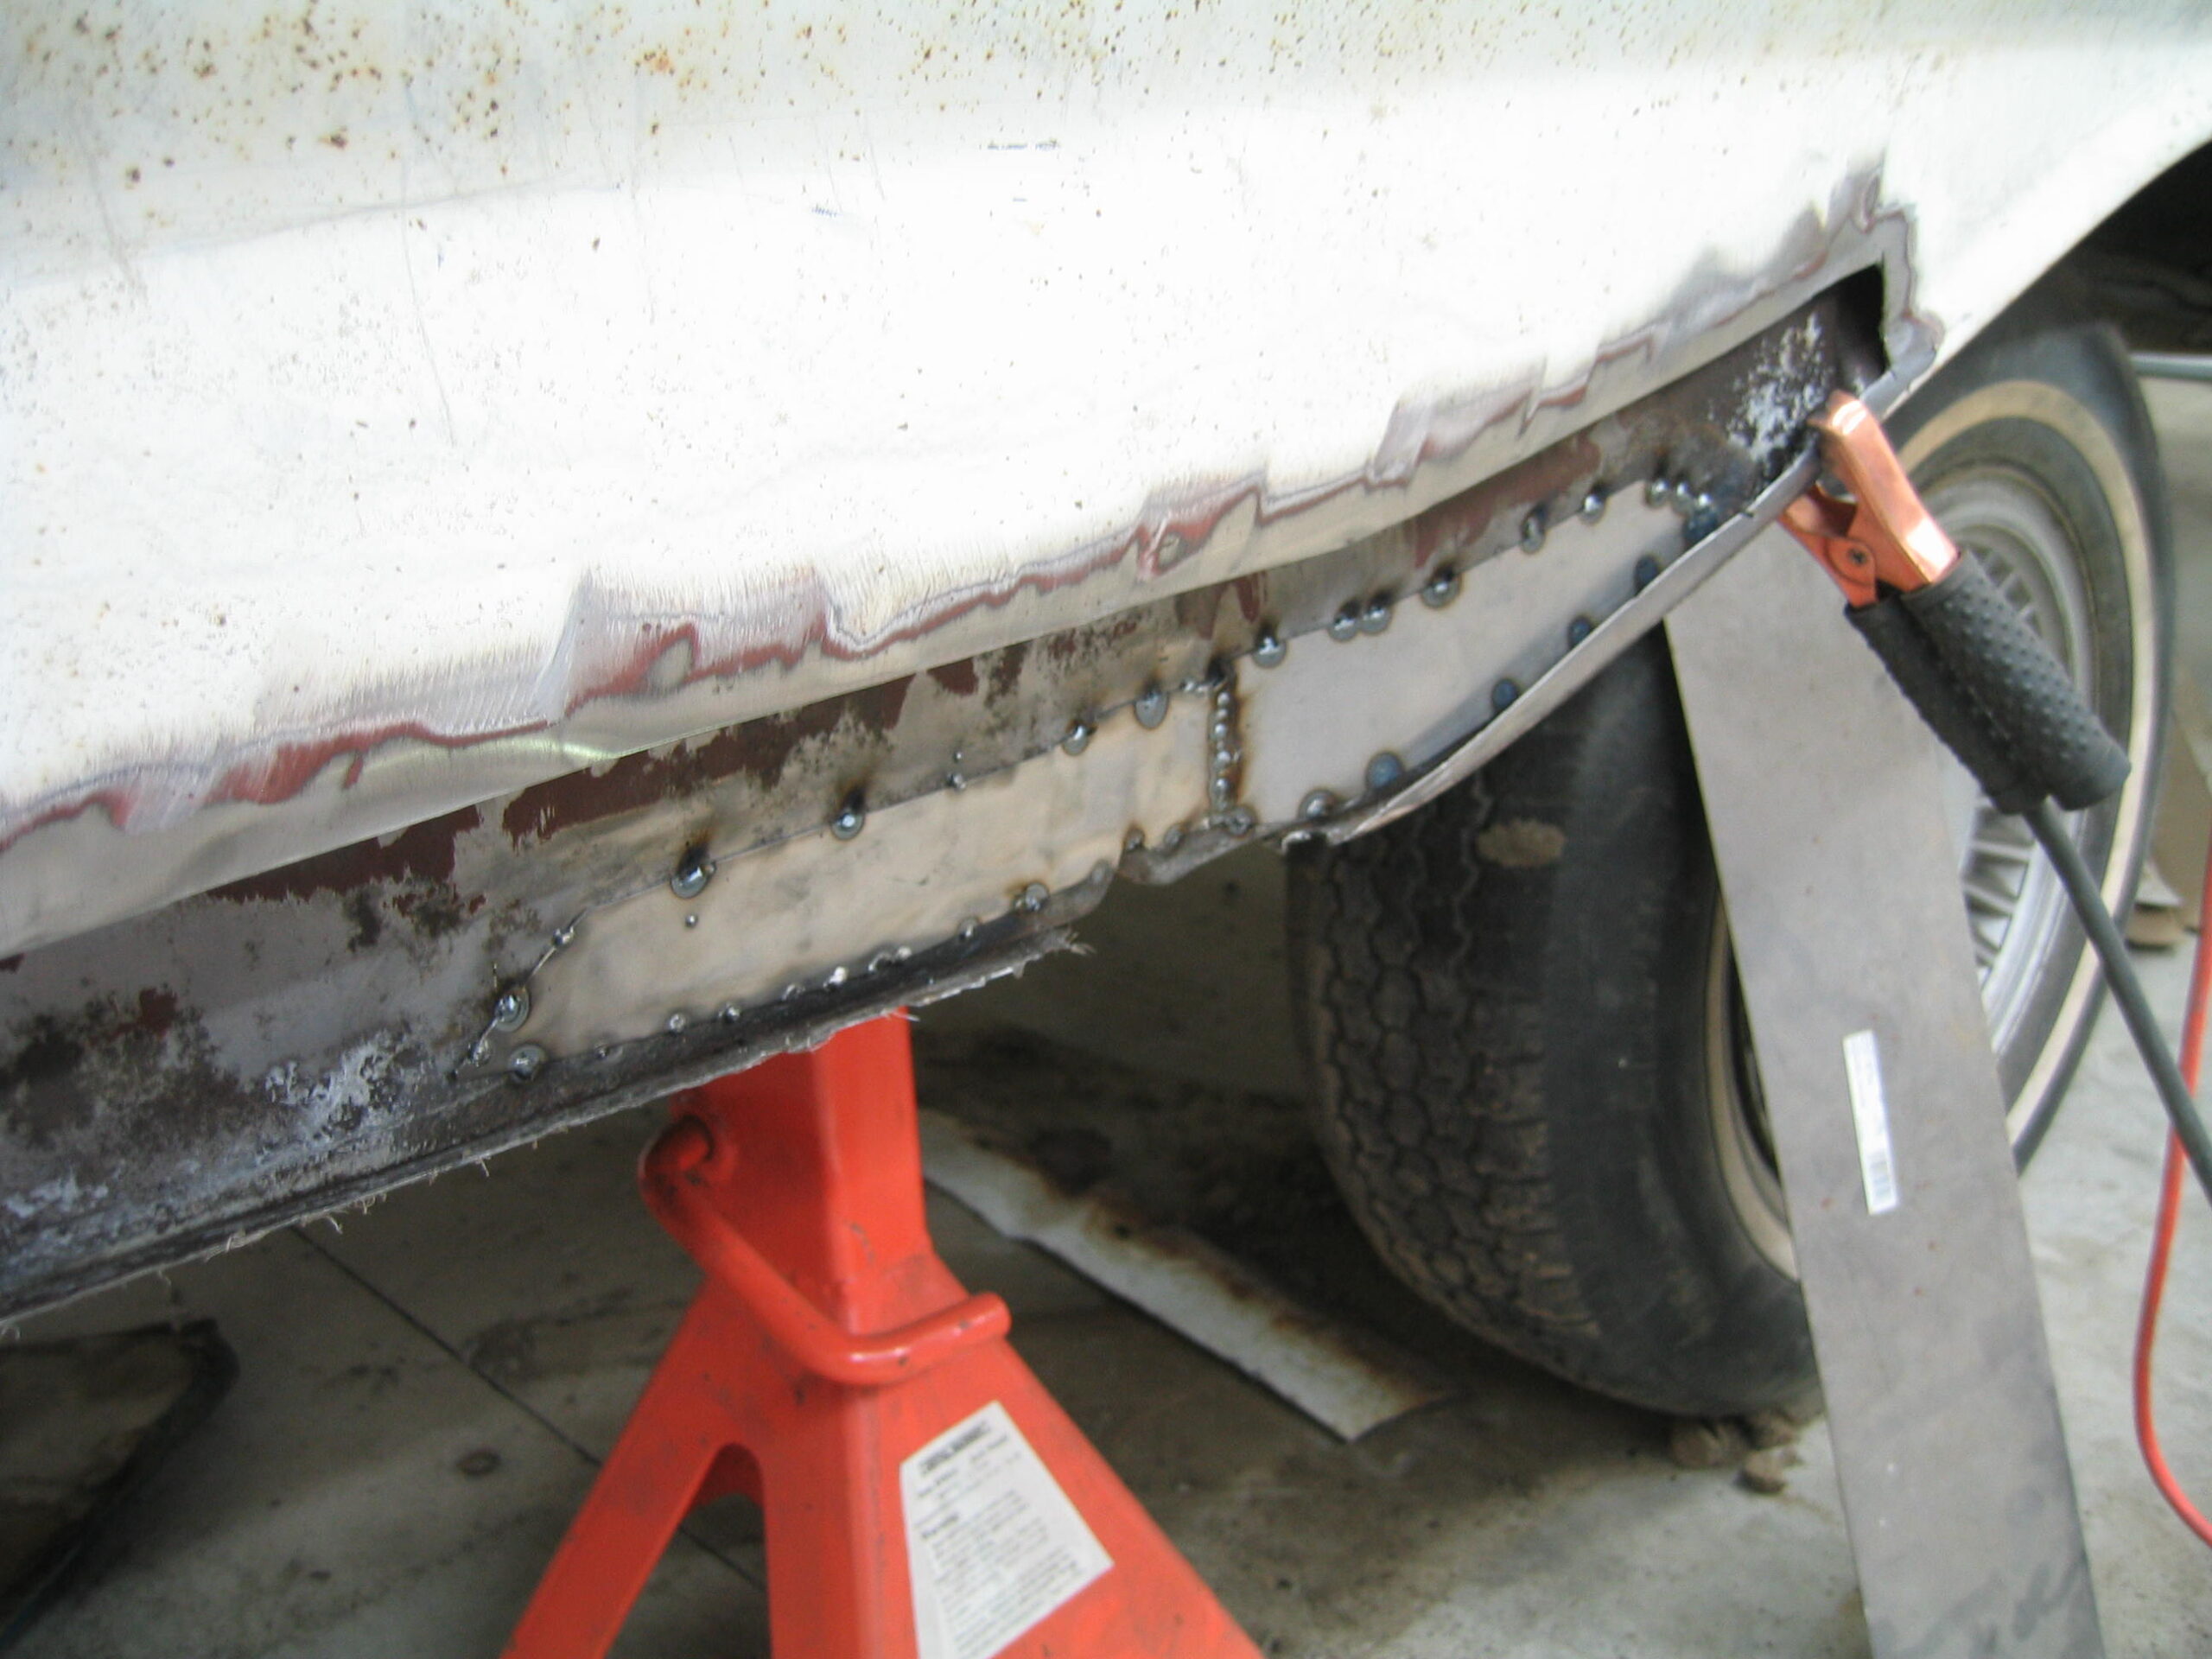
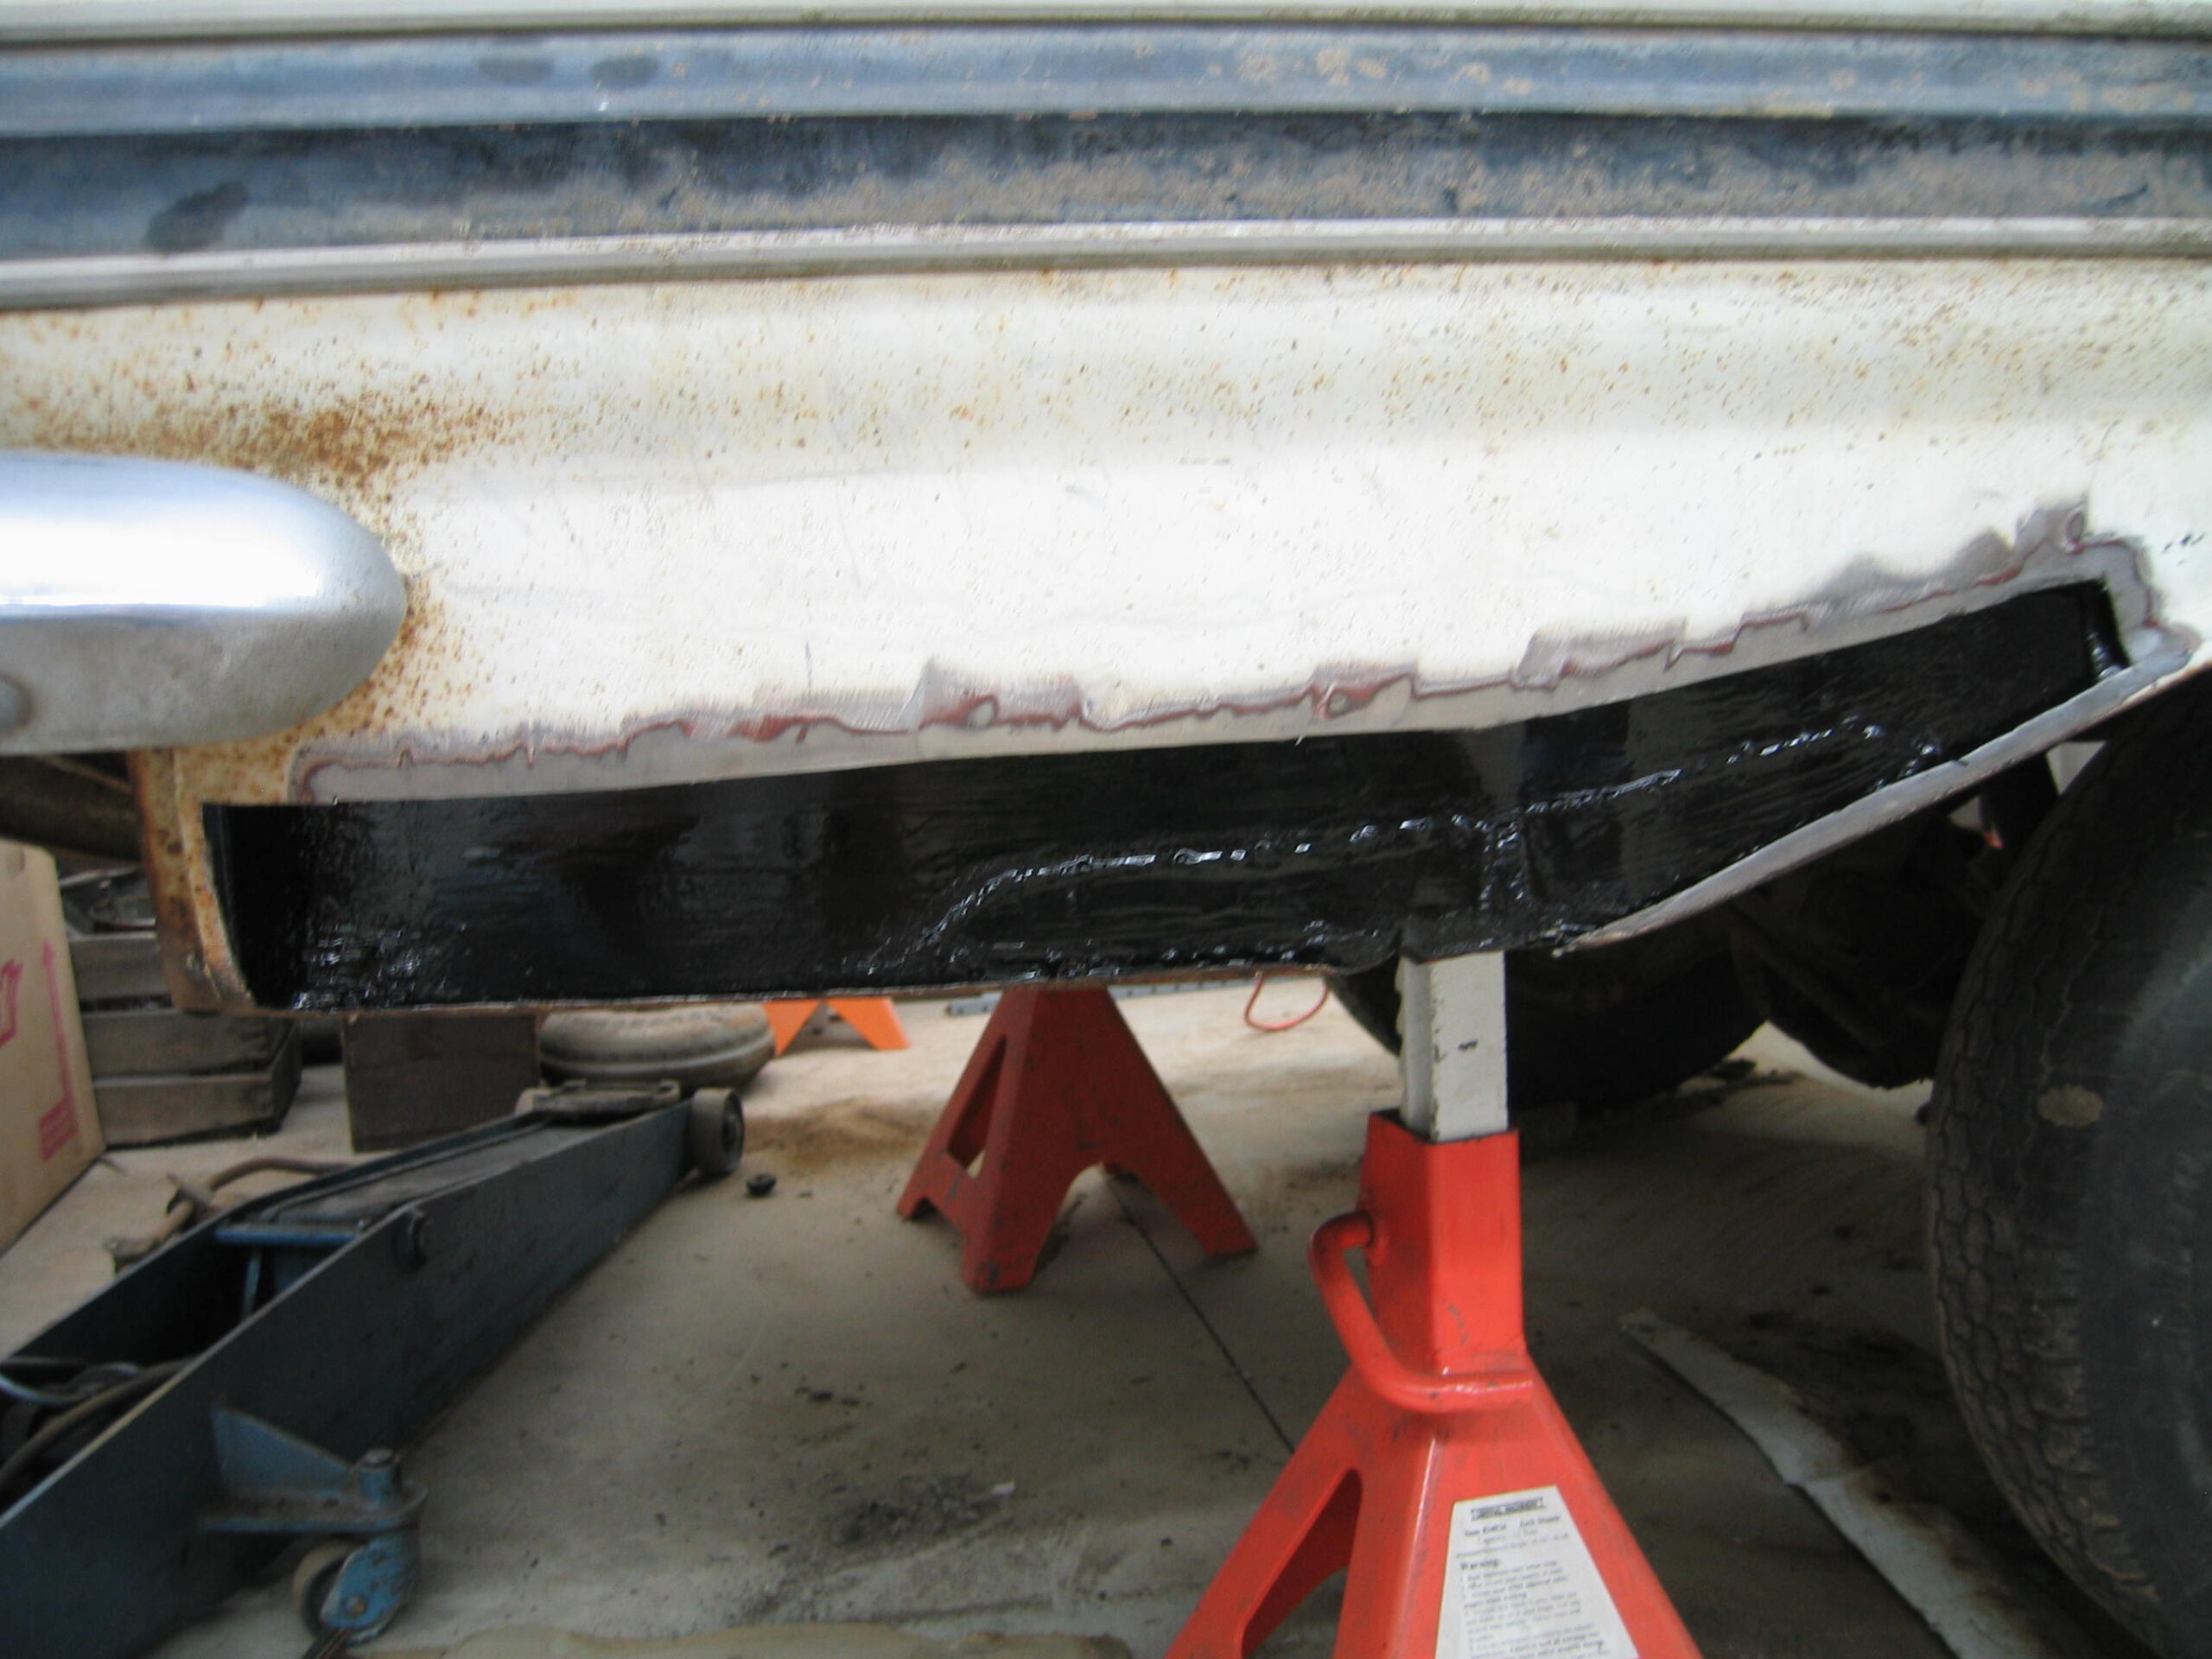
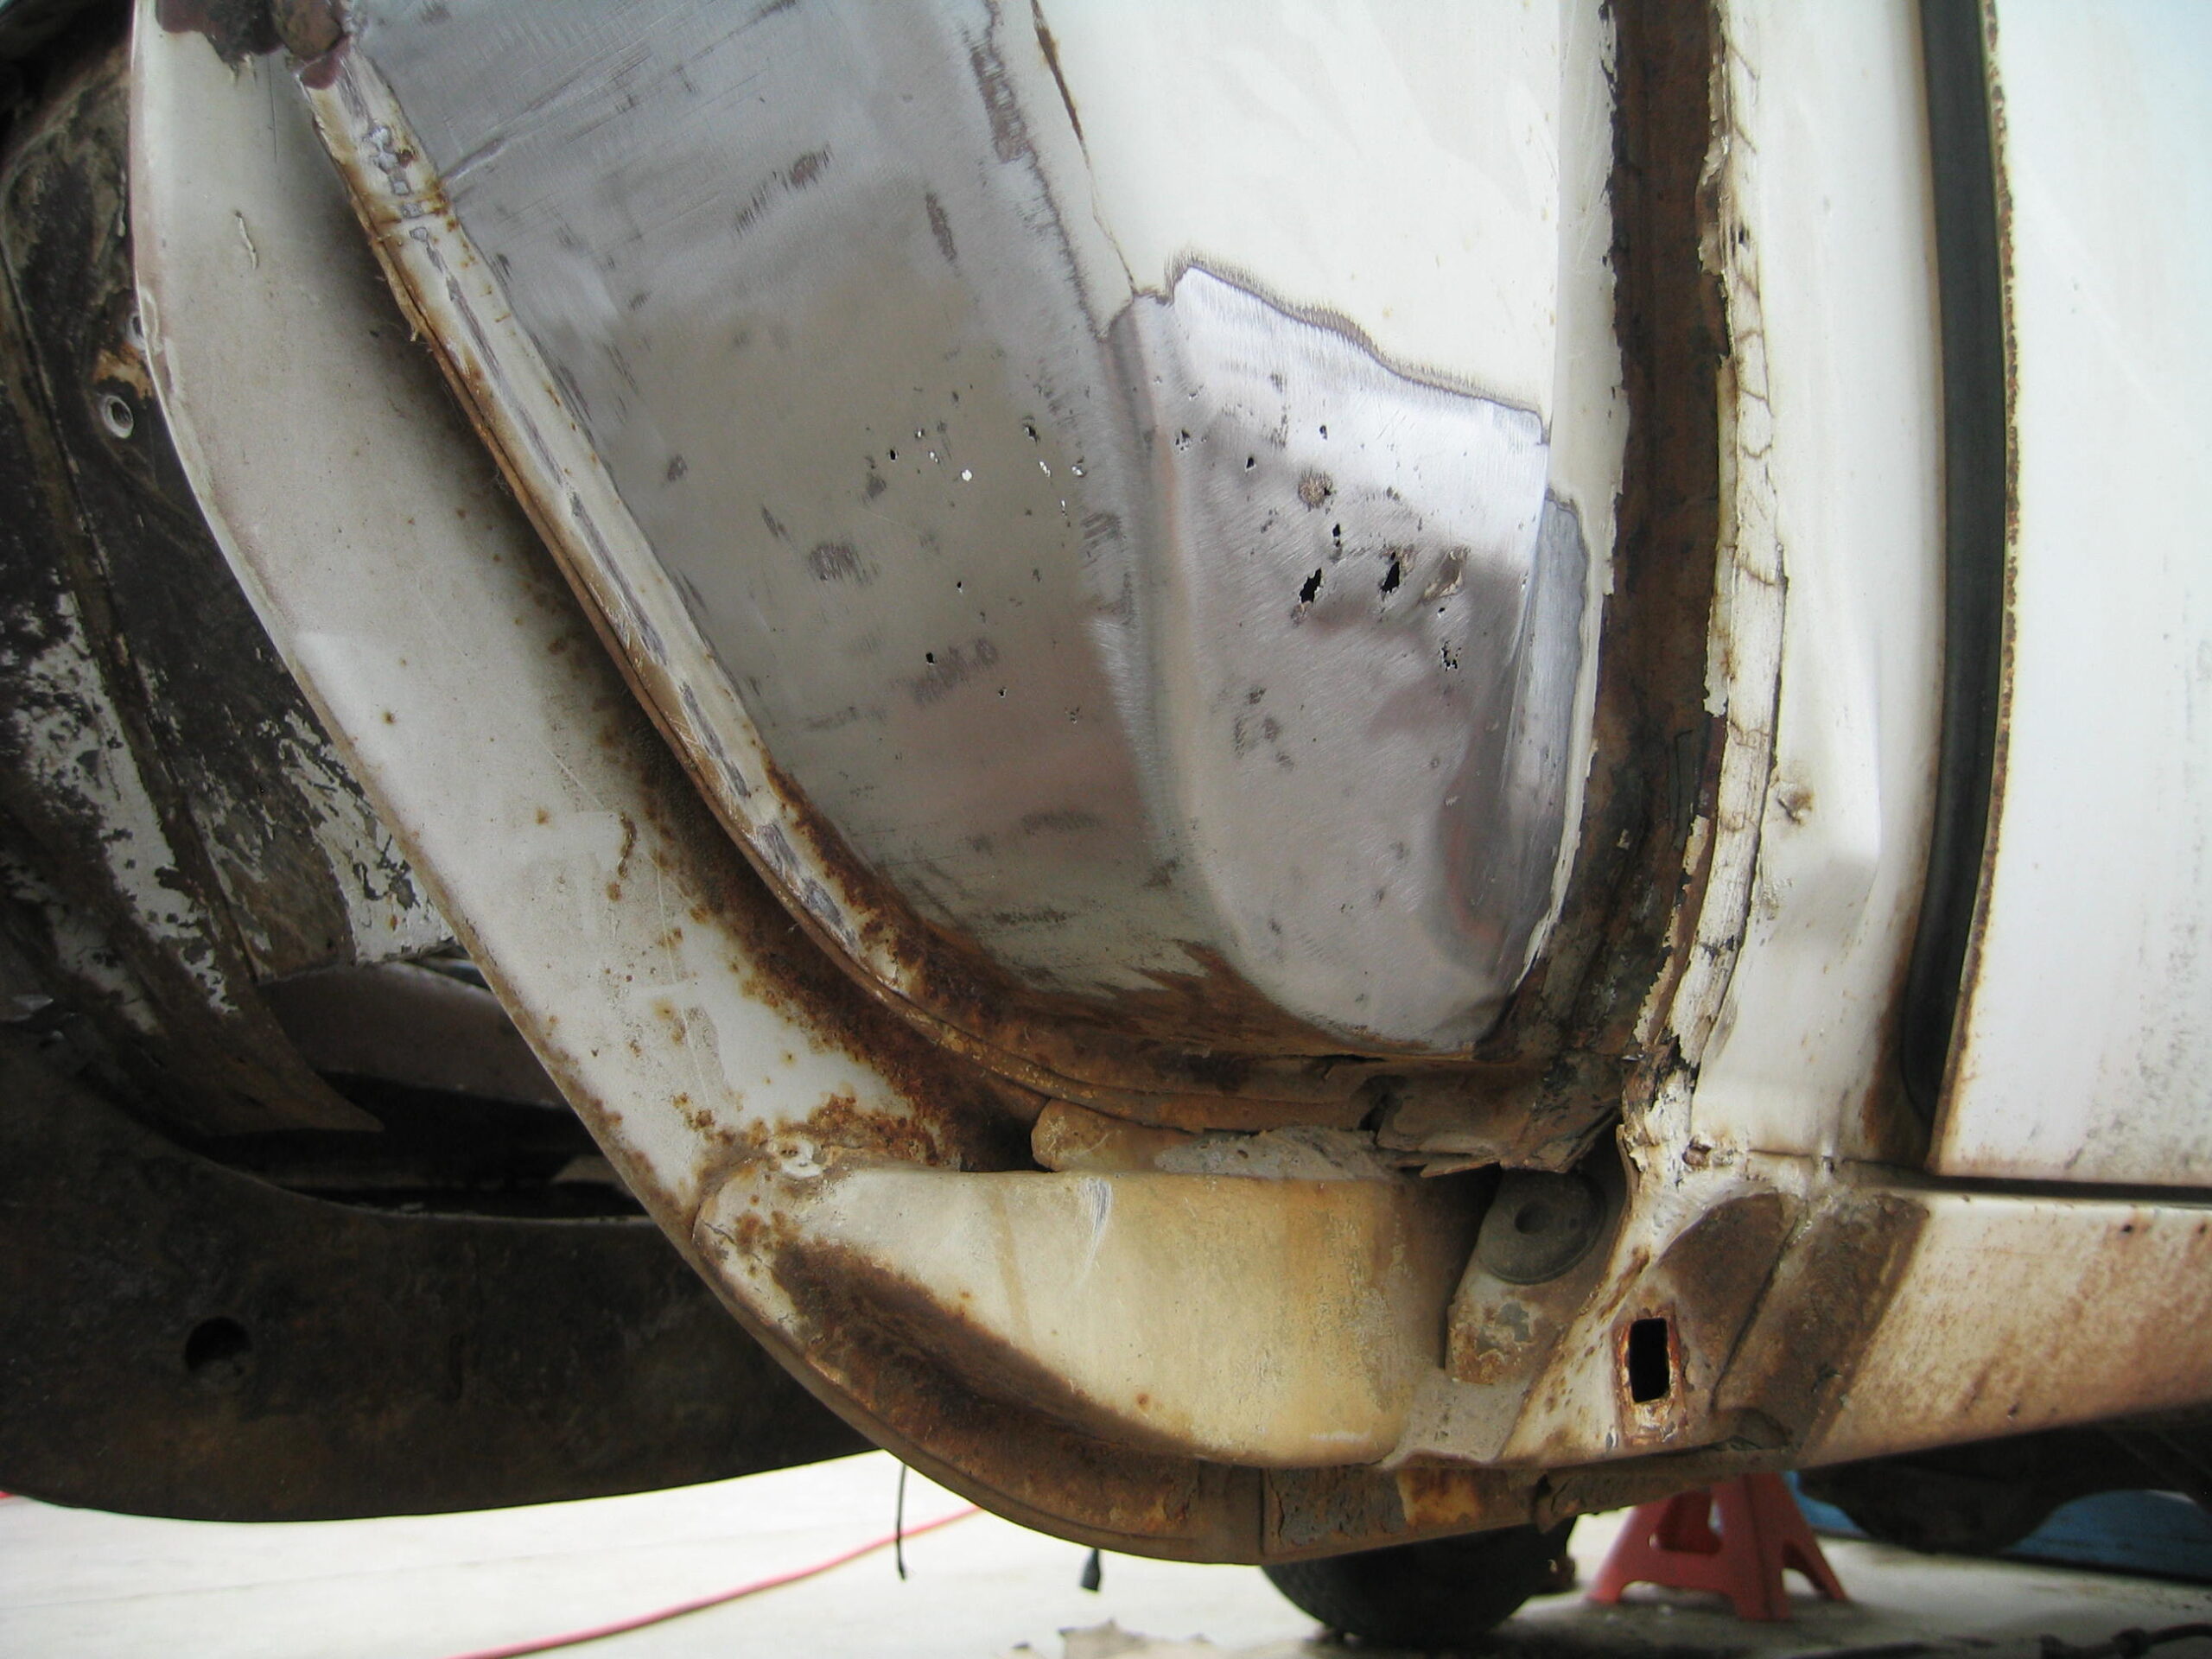
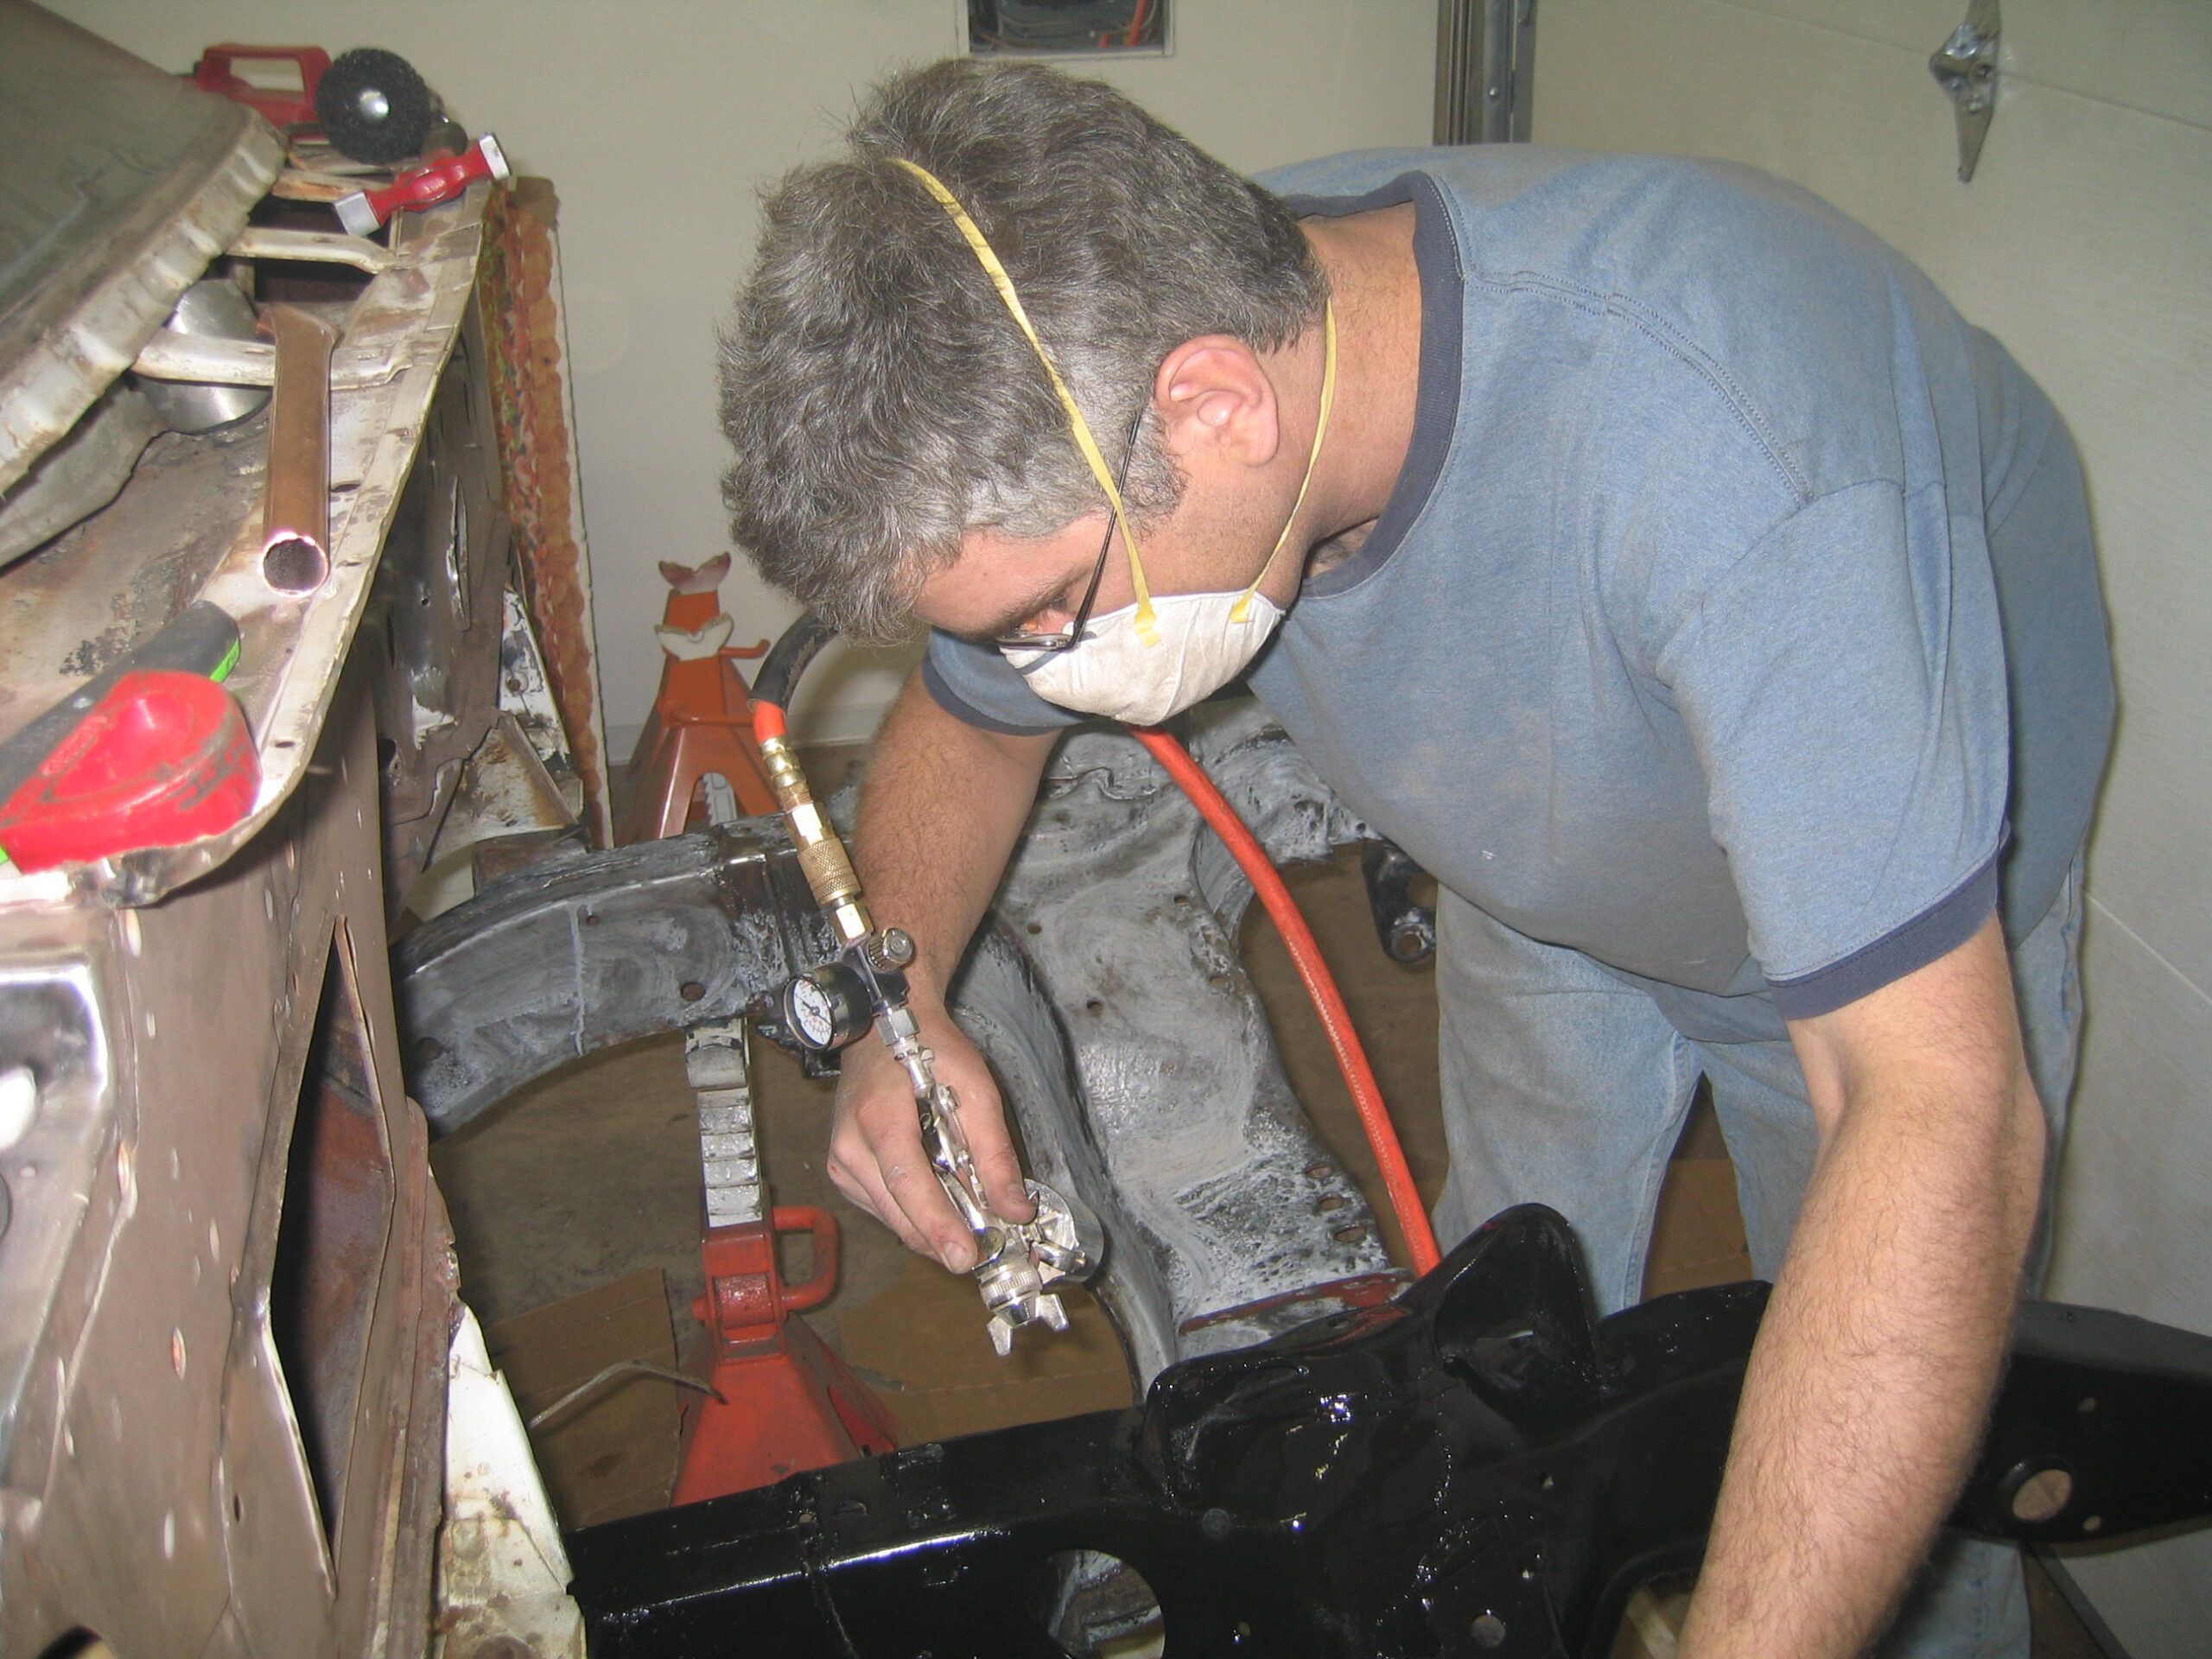
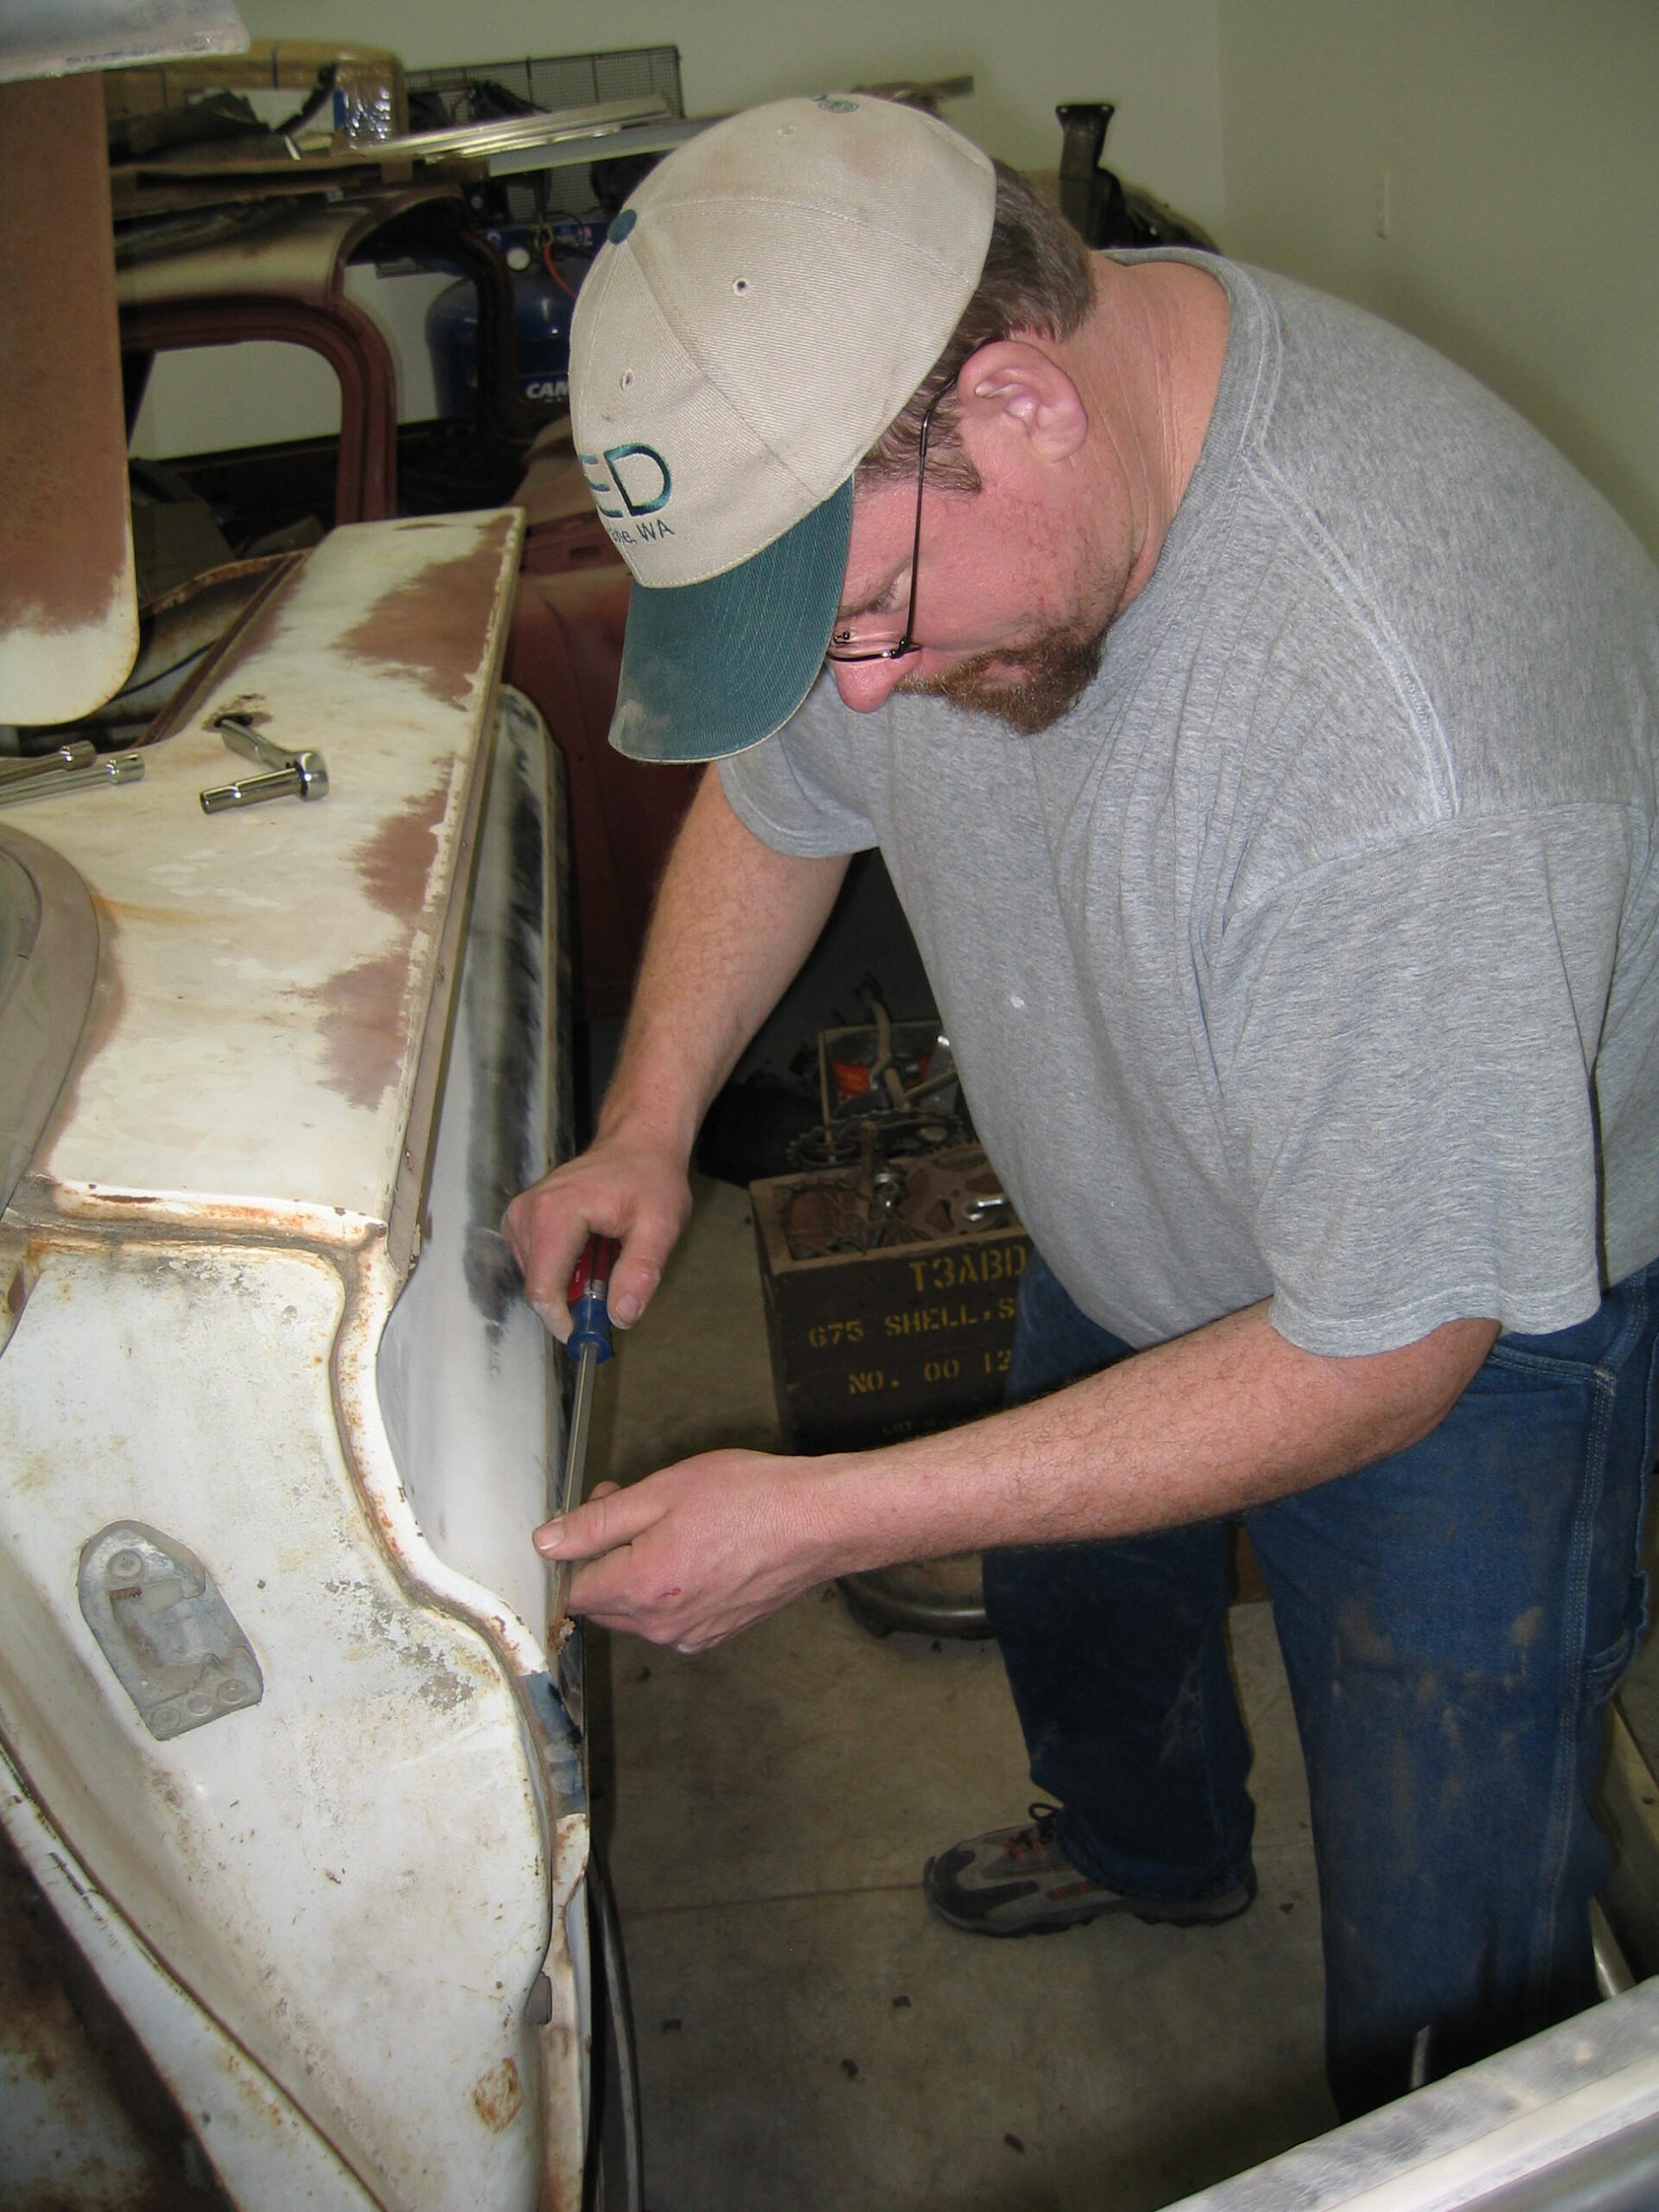
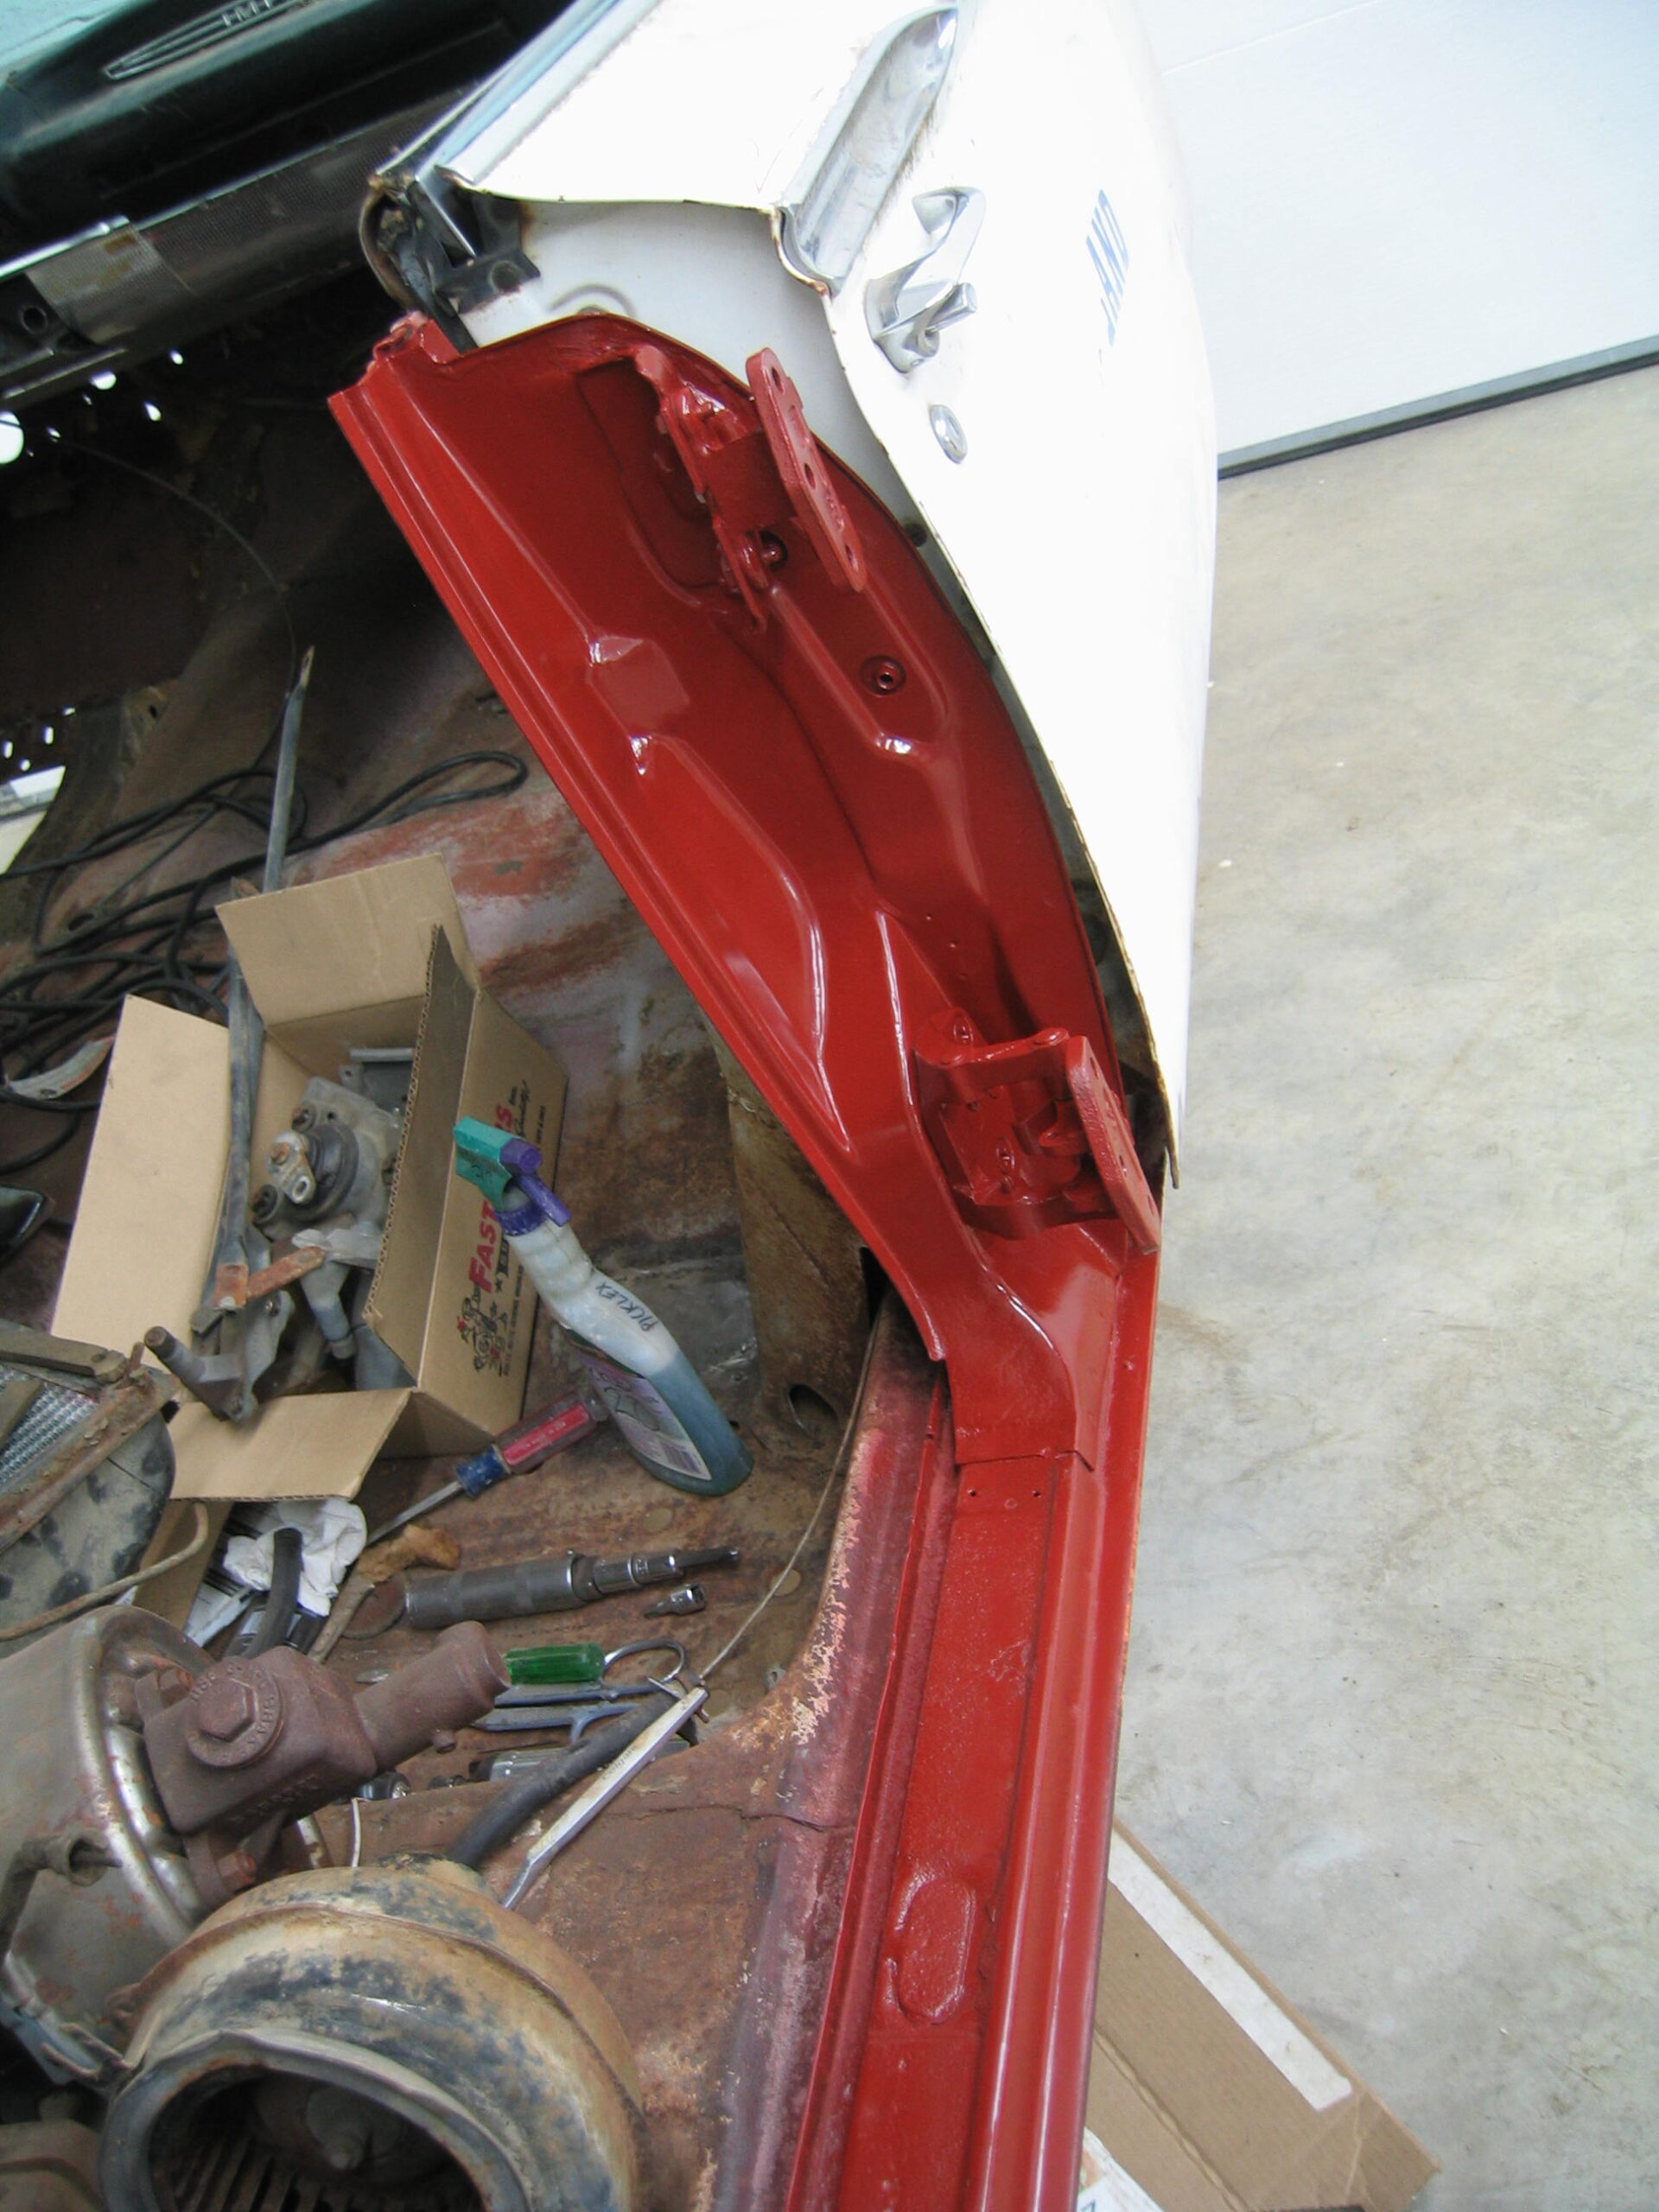
Since most of the car is pretty solid and straight, we figured we wouldn’t need to replace very much of the quarter panels. The rust is limited to only the lower rear portion. We may attempt to fabricate the patches ourselves to avoid buying a costly reproduction panel. However we won’t compromise quality… so if a home-made patch isn’t good enough, the new panels will be purchased. We are using Picklex-20 and Zero-Rust, a rust-encapsulating paint extensively for the restoration of the chassis. The Zero-Rust comes in a nice semi-flat black, perfect for the chassis final finish. PPG’s DPLF primer will be used as the first coating over bare sheet metal. It will need to be scuffed before any other primers or top-coats are applied.

Lower right rear quarter had some rust, but not too bad. Here it is being cut open.
The inside panel had some minor rust holes so that was cut out too.
Patch for the inside right rear quarter welded in place after the area was thoroughly degreased and treated with Picklex 20 rust converter.
After the seam was sealed with a heavy bodies seam sealer, some “Zero-Rust” rust encapsulating paint was brushed on for protection.
Frame and firewall are stripped and cleaned.
Cowl rust! DOH!
After the frame was treated with rust-converter, it was sprayed with Zero-Rust. This is a non-catalized paint, so no special breating apparatus is needed, however good ventilation is recommended.
Front part of frame after being sprayed with Zero-Rust. Ahhh nice semi-gloss black!
All outside trim and clips were removed.
Dave removes some of the inside window mouldings.
After being stripped and prepped with rust-converter, this door jamb is sprayed with PPG’s DPLF primer.
Steve heats up the old undercoating with a propane torch to make it scrape off like soft putty.