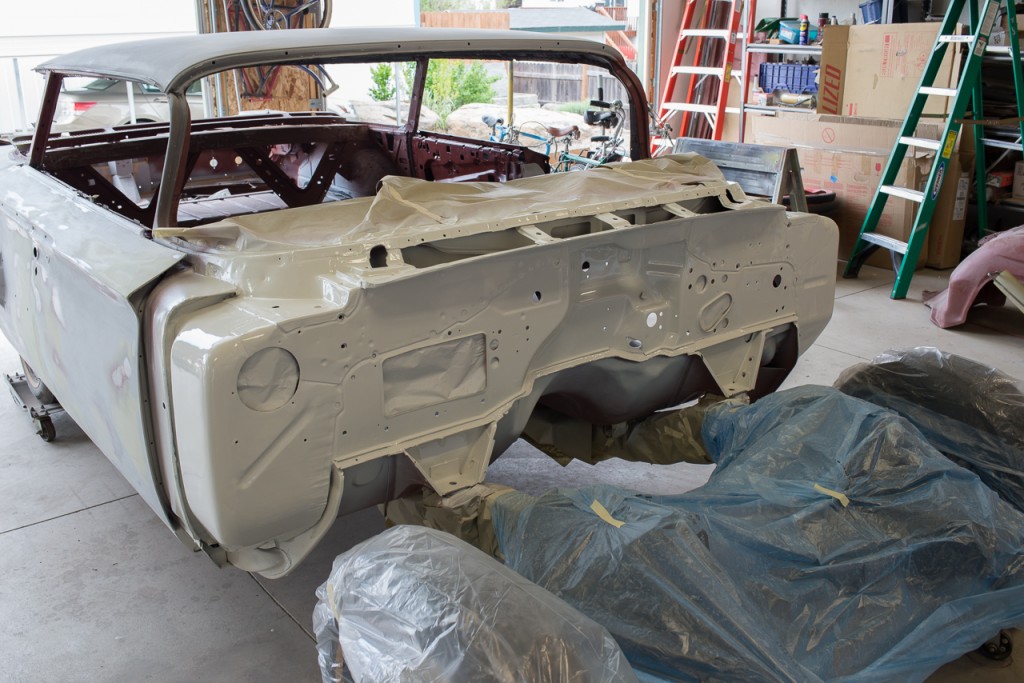
There is PAINT on the car! Yes, actual finished paint has been laid down after far too many years!
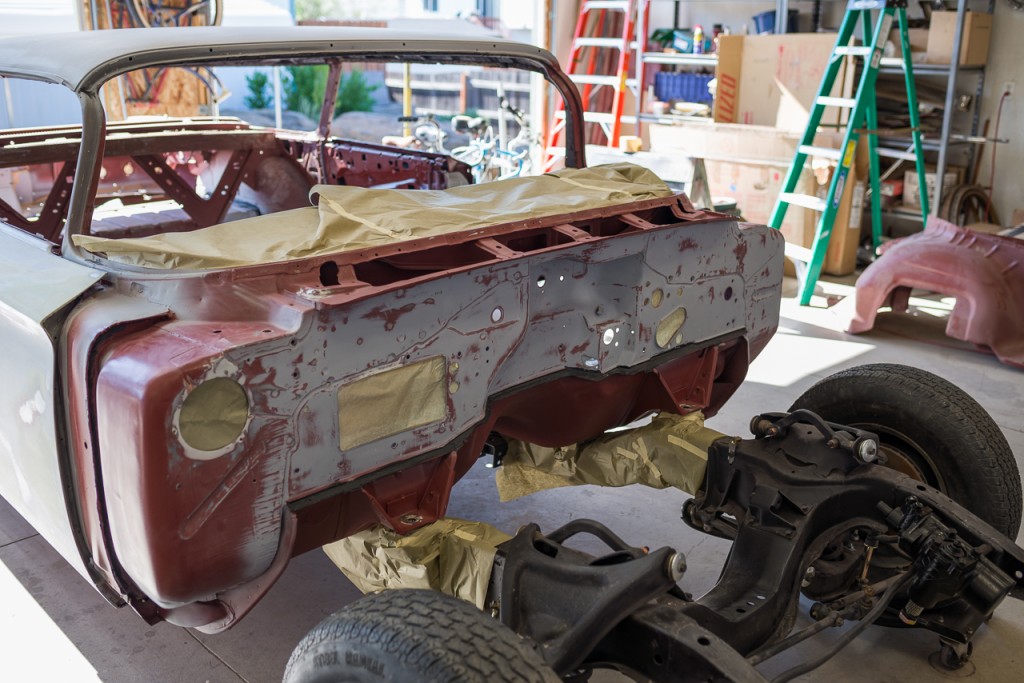
For the past few months I’ve been too busy to work on the car, so it has just been sitting. I had sanded most of the firewall in preparation for final primer/sealer and then paint. There wasn’t much left to do to it really, but the big hang-up was the logistics of spraying the PPG Concept Acrylic Urethane in the shop, since I don’t have a paint-booth to roll the car into. Everything I’ve read (and to some degree, experienced) with Acrylic Urethane, is that the overspray stays wet longer than primers and enamels, so it ends up sticking to everything you don’t want it to. Supposedly, you want to mask and seal off the entire bottom of the car, because the overspray haze will get through the smallest openings and end up dusting parts that are already finished, making for a lot of clean-up work. Not to mention messing up everything else in the shop! I was hung up on thinking that I would need to build a temporary paint booth before I attempted to spray any urethane. But the past week had me feeling anxious to make some progress on the car, so I figured I’d throw caution to the wind and just shoot it anyway, right there in the shop… but with all three roll-up doors open for good ventilation. Of course, I took some precautions and moved the vintage bicycles I had in there outside, just in case.
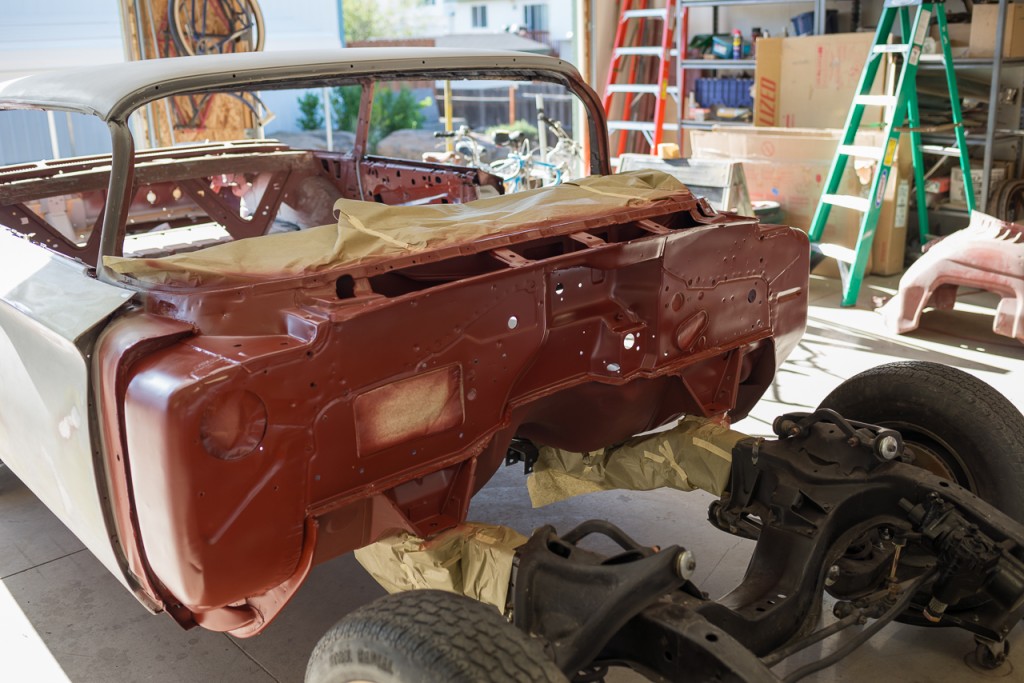
I shot the DPLF epoxy primer a few days ago. Never had any problems shooting this stuff in the shop. Overspray/fog dries quickly after leaving the gun, so it doesn’t stick to other stuff nearby. Then today I mixed up the Ermine White “Concept” urethane from PPG, including some flattening agent (DX685) because I didn’t want the firewall to be too shiny. I’ve seen high-gloss paint on door jambs and firewalls many times, and it doesn’t typically look good.. The factory metal stampings in these areas are less than perfect. Often with plenty of lumpy areas and even wrinkles. The high gloss makes these imperfections stand out quite a bit. This isn’t such a huge problem with a color like white, but even so, I wanted to do it anyway. I’d never used the DX685 before, and have read in various forums that it can be difficult to get consistent results with it. Depending on how wet it’s shot and how well agitated you keep the paint while spraying will all play into the final sheen of the finish. The “P-sheet” for DX685 gives mixing instructions for how flat you want it to be. I opted for “eggshell”… what % gloss that actually is, I don’t know. I ended up using just 8 ounces of urethane, but since the mixing instructions call for a high % of flattening agent (which replaces the reducer) and hardener, I had 17oz of sprayable material when it was all mixed. This was just the right amount for 2 good coats on the entire firewall and down inside the cowl vent area. I totally lucked out with this, because I mostly just have experience mixing up quantities for painting classic bicycles, not things like car firewalls! After the first coat, I let it cure for about 15 minutes before applying the second coat. The first coat flashed off and had a nice satin sheen to it… perfect! The second coat, I made sure it was nice and wet all over since I wanted this to be the final coat. It came out out very nice, no runs! However, after 15 minutes it was looking very glossy still… not like the first coat. 30 mins, still glossy! Even an hour later, very glossy. By the evening however, it was dulling down finally with a very nice egshell finish… just what I wanted. I couldn’t be more happy with the results! And guess what? NO overspray problem at all. Doing this “small” part of the car, I didn’t end up fogging up the entire shop, and there is no overspray sticking to anything. Wahoo! Just goes to show… sometimes ya gotta just say “screw it!” and spray the damn paint!