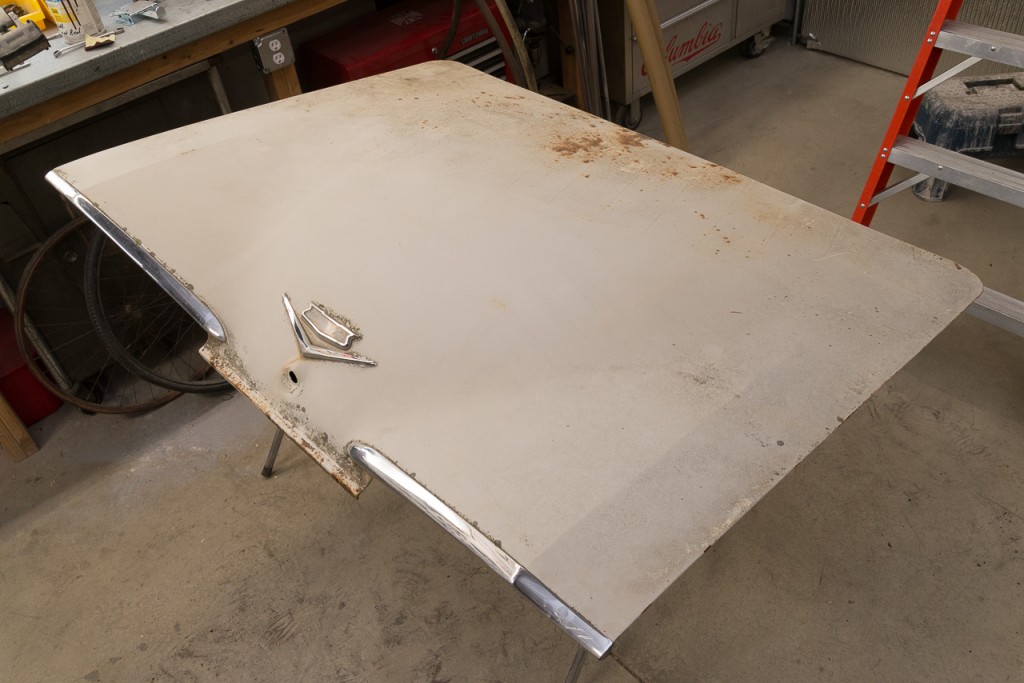
Having given up on the original trunk lid for the car, I ended up buying a replacement from Classic Auto Parts in Hayden, Idaho. The replacement lid is nice and straight with very few dings… probably about as straight as one could expect to find. As for rust, well it does have the typical surface rust on the inner structure, particularly where it overhangs the licence plate pocket. It doesn’t appear to be too bad though, so I’ll give this one a go.
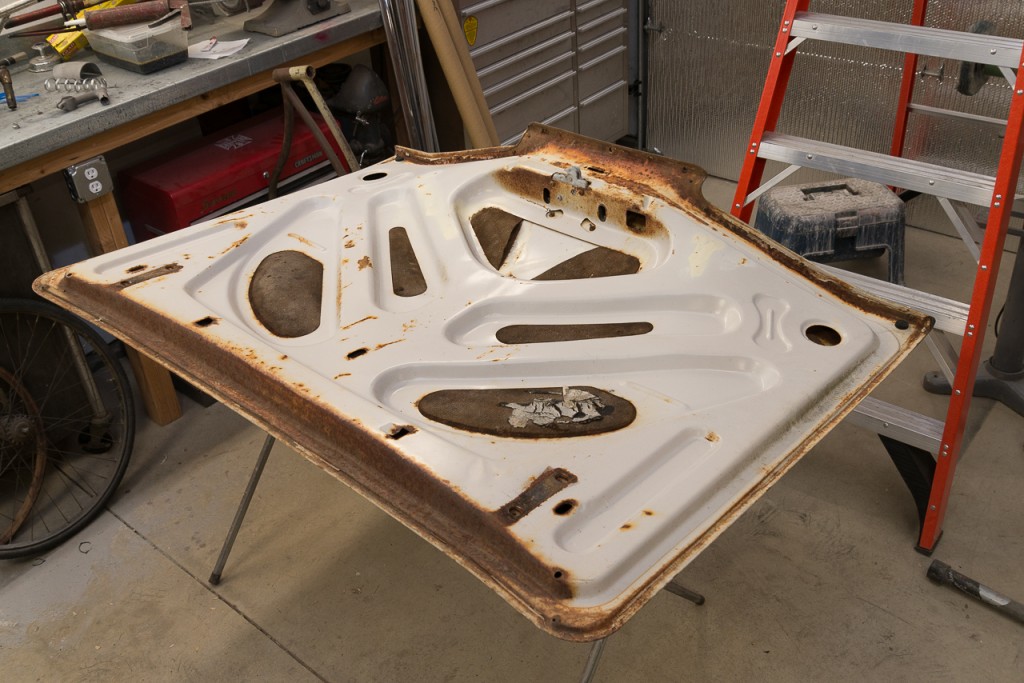
Even though this lid has all of it’s original insulation pad intact, I’ve decided to remove it. I’ll dig it out a chunk at a time, which will be a pain in the butt. I did this before with the original lid and thought I’d made a mistake, but here I am, with another chance at leaving it alone, and what am I doing? I’m goona take it out! It’s just…. crusty and nasty! This stuff soaked up moisture for decades and trapped it against the outer skin of the lid, causing some pretty deep surface rusting. It’s gotta go, I need to have access to treat that surface rust and seal it up, to prevent it from getting worse. I’ve got plans on what I’ll do to replace it (for factory appearance) but I’ll save that for another post.
I’d contemplated separating the skin from the inner structure, like I did with the last one, but this time grinding the edge where it’s crimped over so it would separate without doing any damage. I’d have to weld the entire perimiter… a lot of work, but it would give me the chance to properly treat any rust inside 100%. However… it’s just too risky and too much work. Thousands of cars of this vintage have been restored to concourse quality without their deck lids being separated. I think I’m going to roll the dice and do the best I can with keeping it together. I need to just move on with the project. If some years down the road it has issues with rust coming through, well I’ll just re-do the lid or replace it… again.
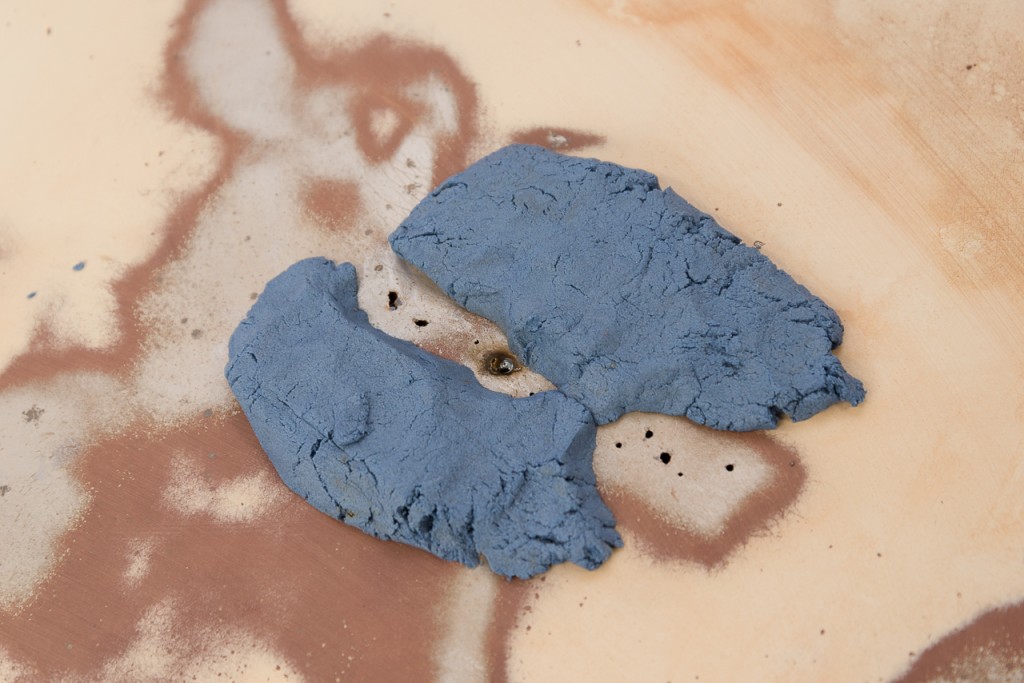
One BAD thing that I found on this lid after poking at it with an awl, was a series of about 10 pinholes of rust-through on the outer skin, passenger side toward the front where the inner structure pinches the insulation pad against it tightly. Why it only rusted through here and nowhere else, I have no idea. But it did. This did worry me a bit, but I decided to tackle it with the use of some Eastwood Anti-Heat Compound. With it, I was able to easily control the heat so as not to warp the panel… this thing is stamped from some THIN metal… 22g I think it is.
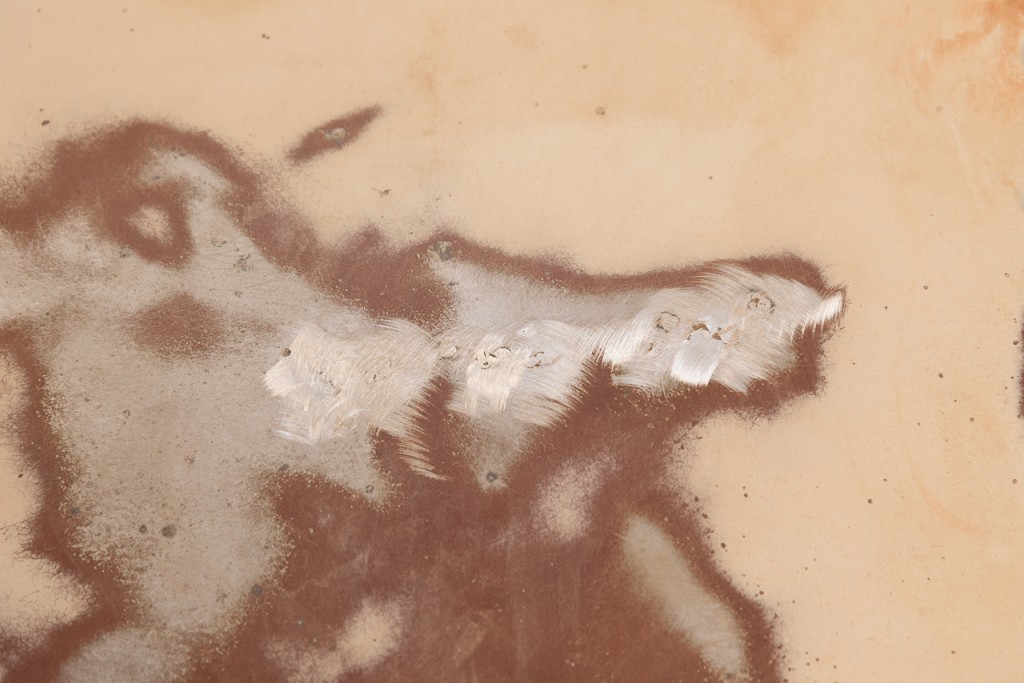
After completing the welding, the deck lid is free of warping and ridgid. Success!
I’ll be carefully stripping the rest of it with paint stripper and the D.A. with 80 grit paper. I want to keep the heating to a minimum, otherwise I’d use my Makita buffer on the slowest speed with 80 grit paper, like I used on the rest of the car. Maybe I’m paranoid and it would be just fine with the Makita, but after ruining the original deck lid, I don’t want to take any chances.