Today I installed the drivers side rear power window conduit. Easy, right? Not so much! I got some pics from the guys at www.chevytalk.com showing where and how they are installed. Interestingly, they look kinda “back yard” the way the holes in the doors are cut with a hole-saw. Guess not many 59-60 Chevrolet 4-doors were ordered with power windows.
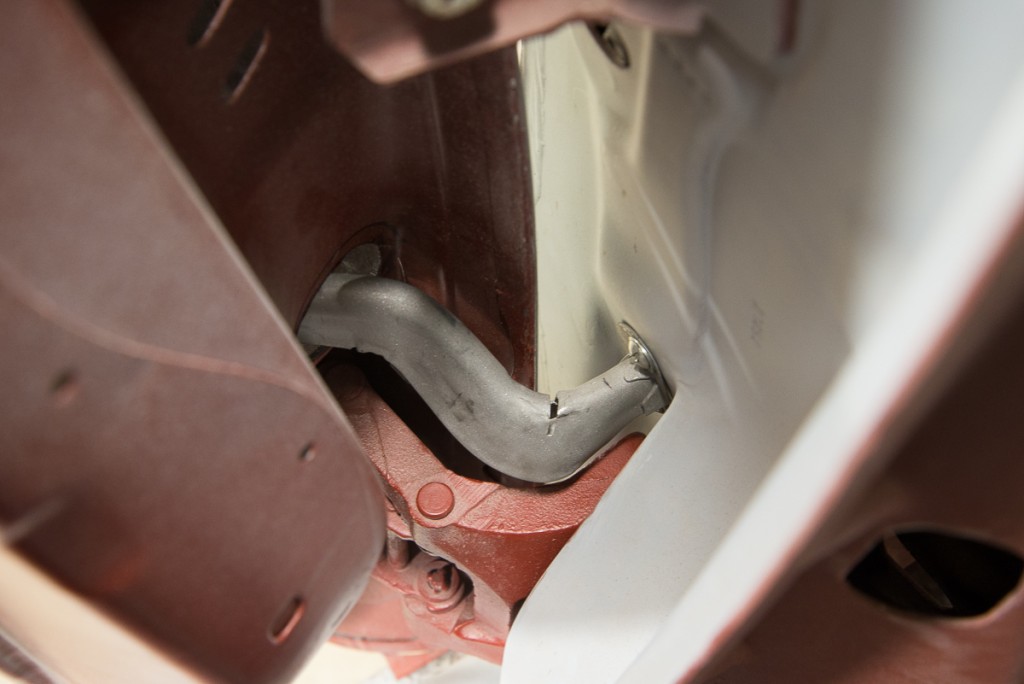
Here’s a photo from Chevy Talk member Chris Johnson, showing the conduit as factory-installed on his wifes ’59 Impala Sport Sedan:

As you can see, it looks like a pretty big hole in the door, cut with a hole saw. Nice! The conduit itself is open at the bottom, with some bend-over tabs, so you can stuff the wires in there, then bend the tabs over. Pretty crude setup, and I imagine there were failure problems with this setup back in those days, with wires chafing on the jaged metal edges… again, nice!
So here are the conduits that I have to work with. One of them (drivers side rear) has a cut in it, where the person who removed the door was about to be lazy and just saw the conduit in half. Thankfully, they thought better of it and removed it properly. I’ve got all the wiring too, even thought it’s kinda chopped up. It’ll still serve as a good pattern to make new. You can see it in my previous blog post after I bought the power window stuff here.
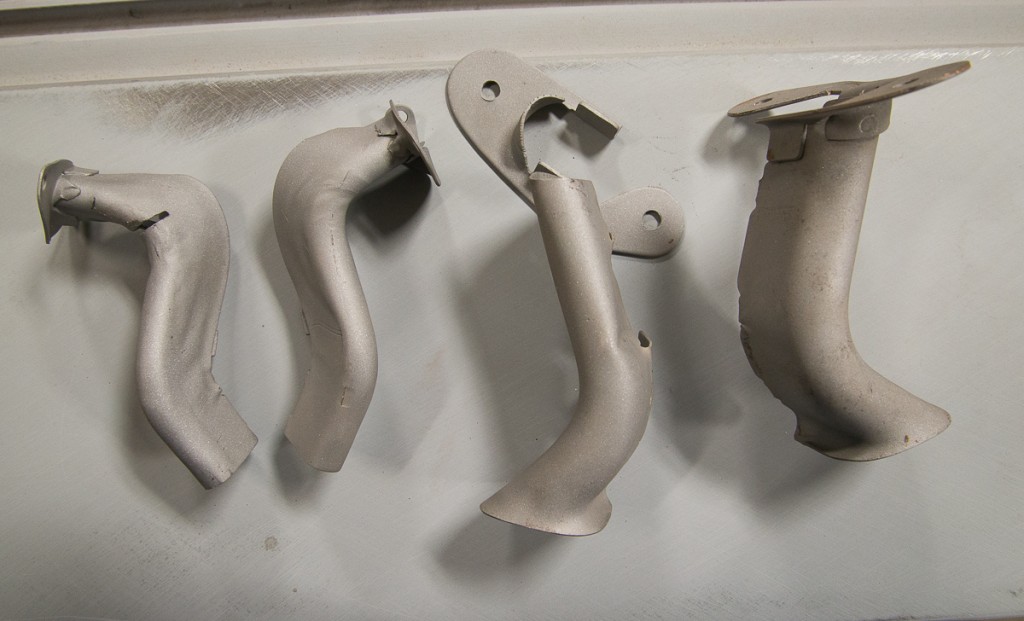
My conduits will need repair, but I’m not complaining. I’m lucky to have them! Some rear conduits were actually made out of rubber! I have a pair, one is completely deteriorated, the other not so bad. I opted to use the metal ones for obvious reasons. You can buy reproductions for the front doors, but I’ll just repair the damage to mine and use them. Original parts are better anyhow!
So after studying the photos I had of the original power-window car and finding dimples in the metal telling me where to drill, I went ahead and cut the holes. The size of the hole in the door was a guess and I think I got it pretty darn close.
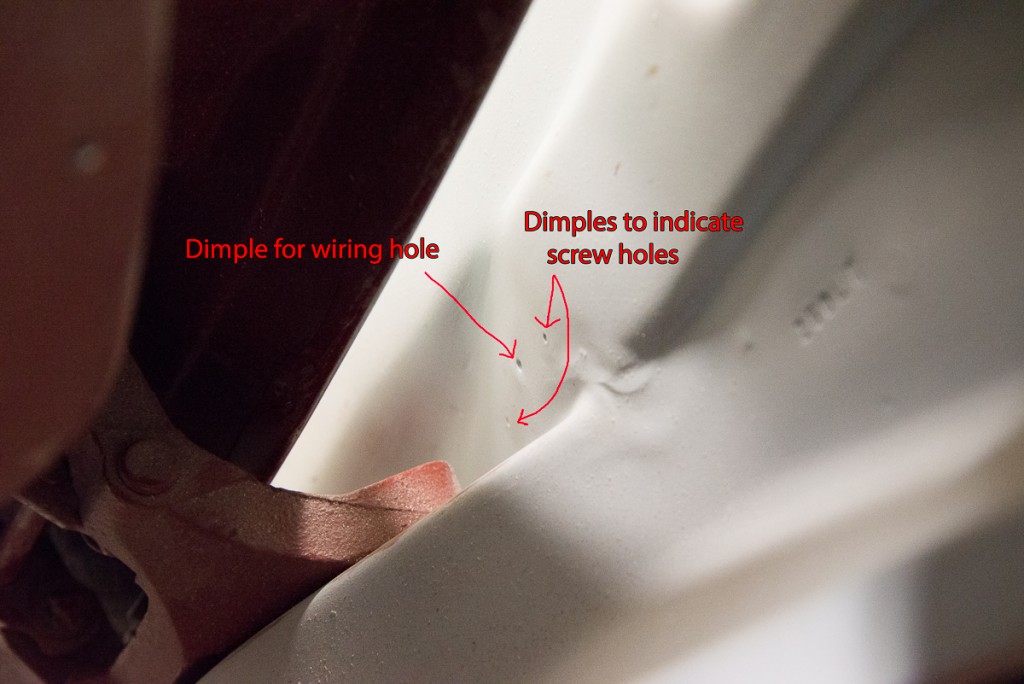
Getting it to fit was kinda scary… I was thinking I had to be exact and that I only had one shot at it. Don’t eff it up! Right? Well, it’s really no big deal. Once I cut the hole in the door, using the provided dimple to find the center of where it should be, and looking at the picture given to me by Chris, I mounted the door and found that the conduit is pretty bendy… that is, I could easily adjust it up down, in or out to center it up in the hole. Door opened and closed without interference first try. EASY!
I don’t know how the factory did it, but I ended up tapping the screw holes for 8/32 screws because the pillar metal is pretty thick, and I couldn’t get sheet-metal screw that small to go in.
I think the real challenge will be fishing the wiring into the pillar and out the access hole on the inside!