Be sure to check out the 60impala.com home page!

Rear Bumper Issues

November 18th, 2009 By Dave Stromberger

So I had two rear bumpers… the one originally from the impala left things to be desired, it was pretty beat up with some bend braces, but savable if a guy had no other options. The other bumper was pretty nice, and it came from the silver Biscayne parts car. But still I didn’t have a decent set of un-bent braces. Turns out the yellow Biscayne out in the Harrington junk pile had a pretty cherry bumper/braces on it. The car was however scheduled to be crushed in a week, so I had to bust-ass and get out there with some ginormous wrenches and WD-40! I got it off easier than I thought… just had to jack the thing up to where I had room to work. Leverage does wonders to snap off rusty old bolts… screw the WD-40!  Anyway, after quite a bit of time invested in disassembling all 3 bumpers and sorting out all the best pieces, I was able to put together one pretty darn nice bumper assembly. But to my surprise, it didn’t quite fit on the car very straight! Not really sure WHY but, I think the braces may still be tweeked a little, even though they sure don’t look it. If I have to, I’ll oval-out the mounting holes on the chassis to get the bumper to sit right. Part of me is still thinking the body is on the frame crooked, since I’m having some issues with the front end sheetmetal alignment too, but the fit problems I have with the rear bumper would suggest body/chassis alignment issues being in the opposite direction as what the front sheetmetal suggests! UGH! Maybe I should just buy a NEW car!

Body Panel Alignment Nightmares – Part 2

November 22nd, 2009 By Dave Stromberger

After coming to the conclusion that the body IS indeed on the frame straight, I had no choice but to move on with aligning the doors on the drivers side, somethign I hadn’t really touched too much yet. To my horror, I discovered that the door gaps on the drivers side are much tighter than the passenger side. So much so that it wouldn’t allow me to have the fender on that side flush up against the rocker panel like i had on the passenger side, which resulted in nice tight gaps, so I thought I was mostly done over there!  Confused, I started looking at some old factory photos of ’60 Chevy’s from back in the day, to see how Chevrolet did the fender-to-rocker gaps. Turns out, they were inconsistent… sometimes they had the fender right up against the rocker, other times they had a gap, with the leading edge of the door being flush with the leading edge of the rocker.  I opted to move the doors on the passenger side forward, and pull the fenders forward…. this gave me nice door gaps on the drivers side, but big ugly ones on the passenger side… i’d have to deal with that later.

Corrected fender-to-rocker, and door-to-rocker alignment

Corrected fender-to-rocker, and door-to-rocker alignment

During the process of moving the doors forward, I also moved them inward a little, to tighten up the fender-to-hood gap. A very odd thing happened when I did this.. I was able to get the front sheetmetal to center over the frame properly and still line up with the doors nicely! Eureka! All this time, I’ve had the front sheetmetal cocked off to the passenger side by a good 1/2″ from the center of the frame.  With this discovery made, everything began looking real good.. EXCEPT those big door gaps on the passenger side. Well, I solved that problem with some more tig-welding rod! I chose to extend the rear of the front door. This allowed me to move the rear door back to where I had it before, with a nice tight gap at the back, while filling the gap up a little in the middle to compensate. Came out looking great! The gaps on the passenger side now match the ones on the drivers side… nice and tight, better than factory!

Passenger side front door gap fixed

Passenger side front door gap fixed

I still had that messed up gap to fix on the drivers side rear door, so I tackled it too with the same tig-welding rod technique. I haven’t fix the mis-aligned trim holes yet though.

Drivers side rear door gap fixed

Drivers side rear door gap fixed

The only remaining gap and panel alignment issues I still have to deal with, is how the hood sits… it does not sit totally flush with the fenders, it is raised up about 1/16″ through the middle, but is flush at the back and front corners. This is within factory specs, so I may end up just leaving it…. I’m very tired of all these alignment and gap issues! At some point you gotta just say GOOD ENOUGH!

Front Bumper Disassembly

November 28th, 2009 By Dave Stromberger

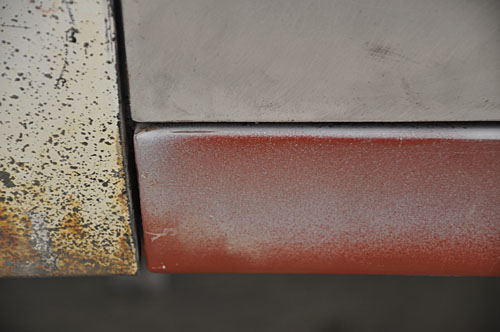
I only have two complete front bumper assemblies, and neither one is in very good shape. Both have been hit on the passenger side, bending the main full length support beam. After a few hours and bleeding knuckles, both bumper assemblies were blown apart so I could clean up the best pieces. I put the best of the two support beams and put it in my vice, got a long straight-edge and was able to straighten it out good enough. It has some ripples in a few spots, but all the mounting holes line back up to where they belong, so I think it should be fine. Since this thing is too big to fit in my blast cabinet, I took it to Master Blasters in Spokane to be media blasted.