
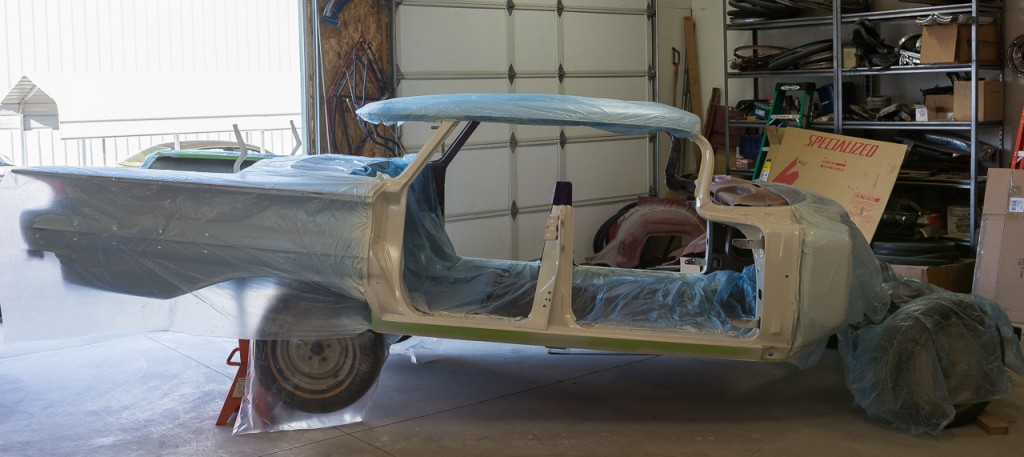
Shot the door jambs today. Masked off the rest of the body, and even the floor inside. Not because I wanted to keep overspray off the floor, but because I wanted to minimize how much dust I’d kick up while spraying. I still ended up with a fair amount of dust in the paint, but ya can’t even see it unless you get up super close and really look for it. I guess that’s one of the advantages of using a satin finish here. Glossy paint would surely show ever spec of dust! While I was at it, I decided to spray the inside of the quarter panels in the trunk back to body color. I just wasn’t happy with the sloppy look of the black undercoating overspray edges… not that it really matters, since it all gets covered up with a mat and cardboard side panels anyway. Oh, I also sprayed the bottom side of the rocker panels too. That’s why I have the back end jacked up like you see in the pic… to allow me more access to spray under there. I figured this area could be shiny like the body panels, but spraying this area would risk kicking up dust, so why not just spray it when I do the door jambs so I don’t have to worry about it. Naturally, the facing side of the rocker panel will be glossy. I’m going to use some 3M aperture tape to ensure a soft transition line between the glossy and the satin painted jambs/rocker bottoms.
The masking around the vin tag came out awesome. Looks like the tag was applied after the paint! Very happy with that. Check out that satin finish. It looks very clean and factory-ish! Totally happy that I decided to put in the extra effort to do the jambs/firewall/trunk this way.
What I notice however when looking at the photo of the drivers front door jamb (with tag), is that the area inside the cowl is actually visible from this angle! You can see the ugly factory undercoating in there. I think I may see if I can squirt some rattle-can black in there to hide it.
