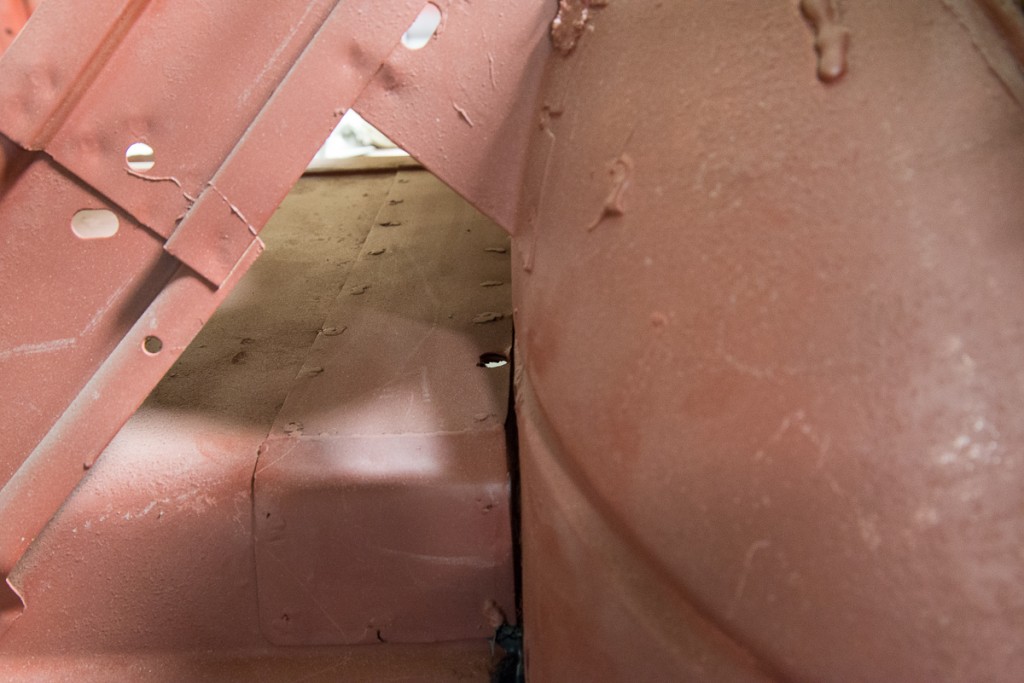
Finished repairing the last of the rust in the car. I should have done this a long time ago, but for lack of knowing exactly what to do, it kept getting put off and even sort of forgotten. I’m talking about the sheet metal that is over the top of the body mounts, directly above the rear axle, behind the rear seat. I had done repairs to the body mounts years ago (read about it here) but didn’t address the top side. At some point, I did put a piece of flat sheet metal over the top of the drivers side to replace the rusted out area, but I was never happy with how it looked.
When I parted out the silver ’60 Biscayne, I used the plasma cutter to chop out those body mount sections, including the sheet metal/floor section with intent to use them to do a proper repair.
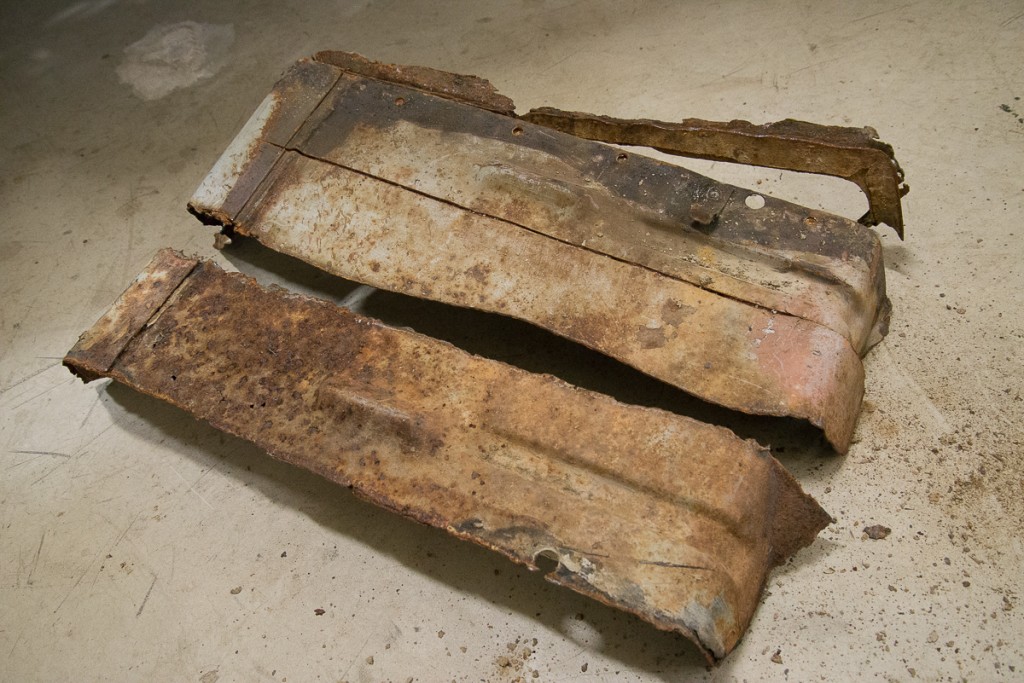
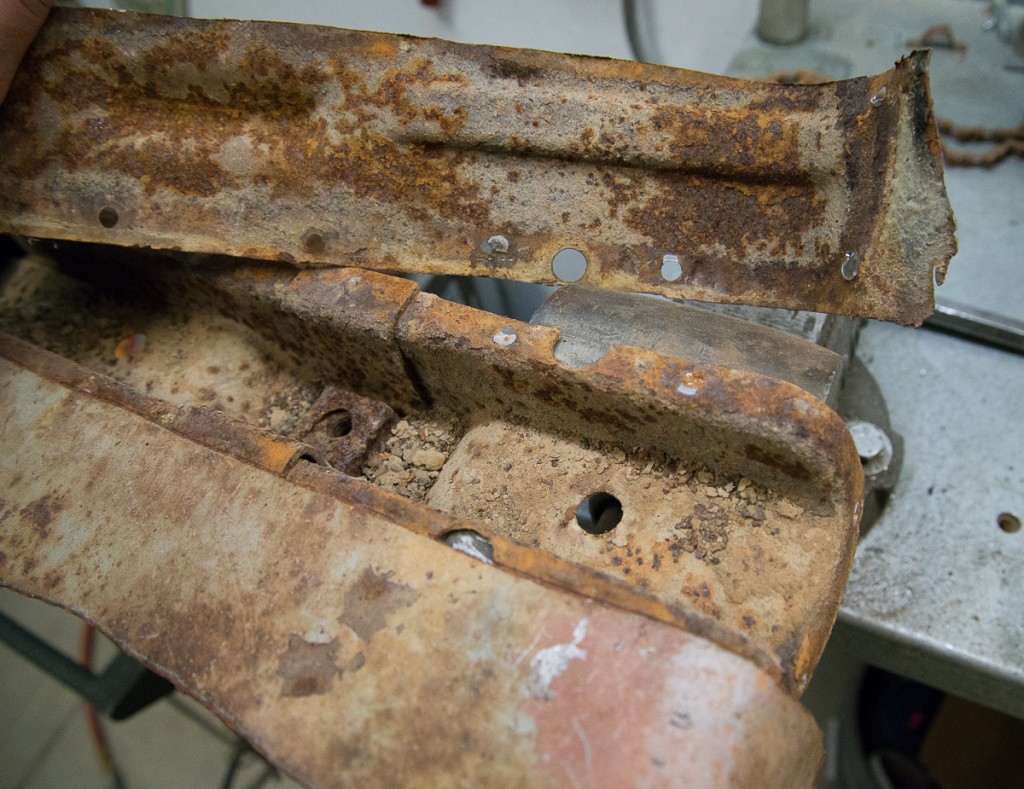
I drilled out the spot welds and chiseled them apart. I’ll save the body mount box sections just in case I need them when/if I ever restore my ’60 Impala Convertible. In spite of how crusty these look, the pieces I need are in good shape. For the drivers side, I need the whole length. For the passenger, I only need the front half, which is lucky because the back half was rusted out. After media blasting, they look good!
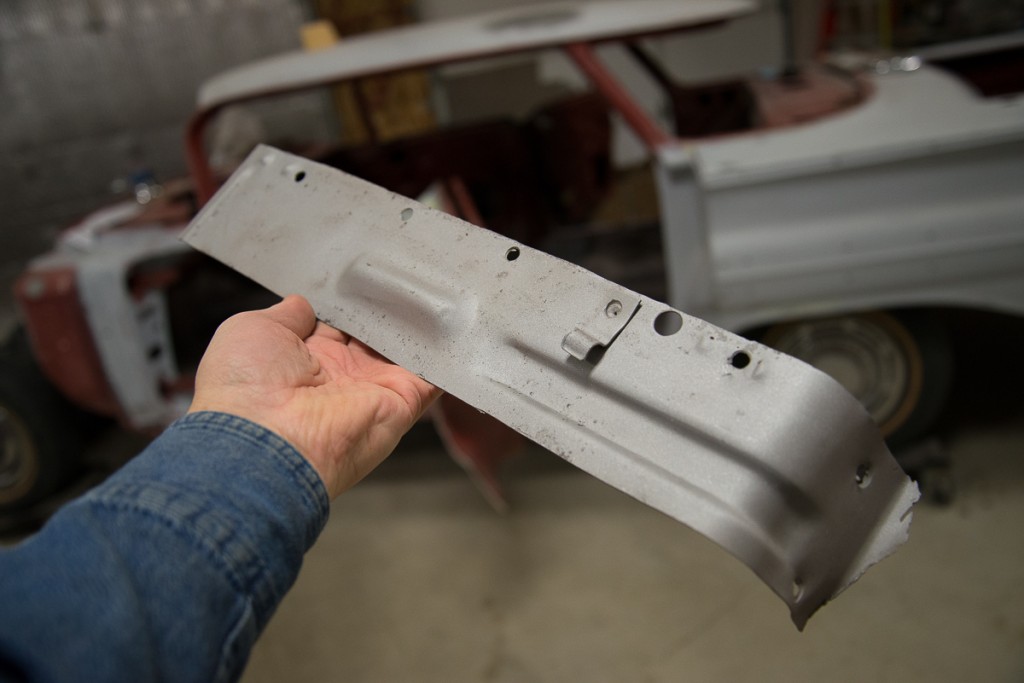
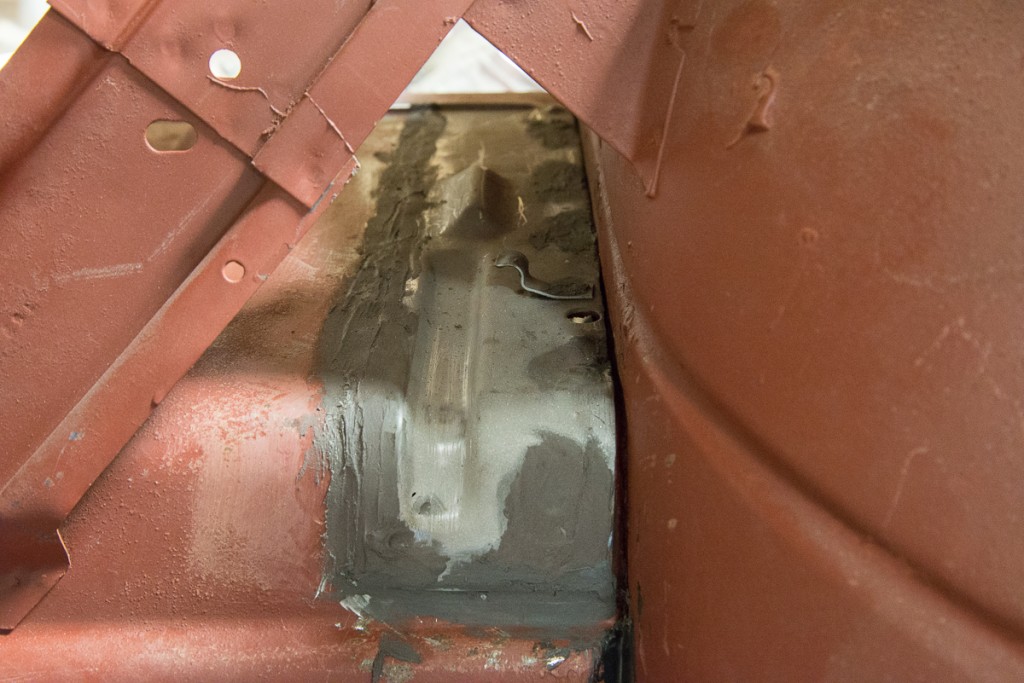
I straightened out the edges, trimmed where necessary, then welded them in through the holes that I made when drilling out the original spot welds. Along the inner edge, I stitched them ever couple inches. After that, I ground the welds smooth and applied some fiberglass-strand body filler, which is supposed to be water-proof. For body repairs on the outside of the car, this is cheating and not the best way to do a repair, but for the inside floor section, it’ll be just fine. I haven’t finished sanding the body filler yet, but when I do, I’ll be doing a skim-coat of lightweight body filler from the edge of the repair panel, out about 6 or 8 inches, then blocking it smooth. I want this repair to look total seamless and original, since this area is visible from the trunk.
I did the same repair to the other side, except I only needed to repair the front half of it. When the body filler work is all finished, I’ll prime it with red-oxide epoxy primer to match what I’ve already done, then apply seam sealer between the floor area and the wheel wells. I’ll have to do more primer after that to cover the seam sealer and achieve a factory original look.